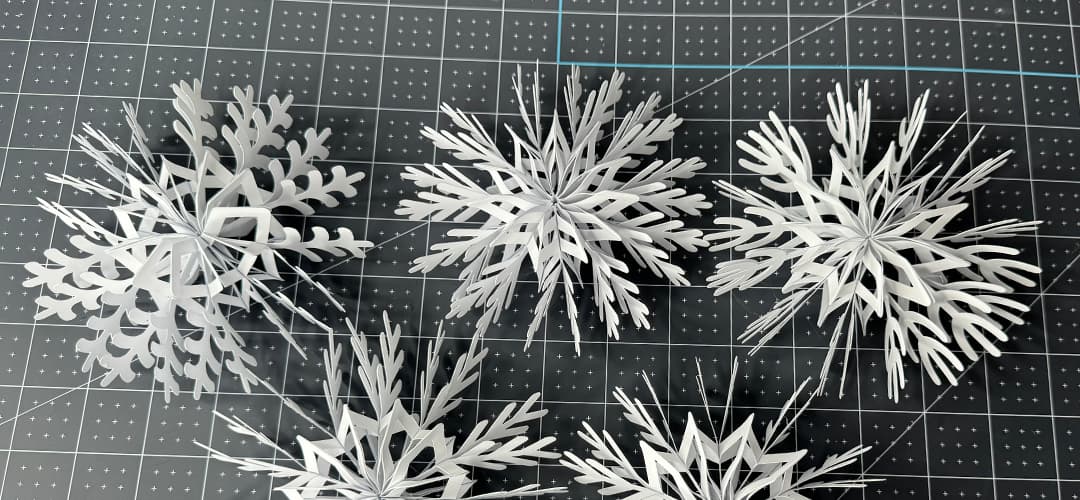
Struggling for easy Christmas Decor ideas? Look no further than these easy Christmas Paper Snowflakes!
They are quick & simple to make, but look really striking and they are a great way to use up some of your paper residues. Unlock the magic of the season with our DIY 3D Christmas Snowflakes. Dive into the joy of crafting as you follow our simple steps to create enchanting, budget-friendly decorations. Perfect for festive home decor, holiday parties, and memorable family crafting moments. Transform your space into a winter wonderland with these delightful paper snowflakes!
Video tutorial to find out how easy to make our DIY 3D Christmas Snowflakes
Watch the video below to see how to make this Easy DIY 3D Christmas Snowflakes.
Keep scrolling for a written tutorial and find a link to a free svg template.
How to make 3D Christmas Snowflakes
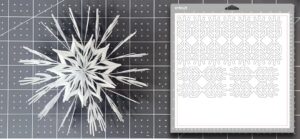
For 1 snowflake 5″ in diameter you need to have 1 piece of paper 12×12″ or use some paper residues.
Here is a list of the materials and tools I used to make this project
- Cricut Cutting Machine
- Cordless Glue Gun
- StandardGrip Mat
- White Cardstock Paper 12×12″
Cut 11 the same pieces of the snowflake. Do not use too thin paper. I used 175 gms (65 lb) white cardstock for this project.
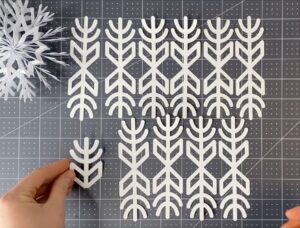
Bend all 3D Christmas Snowflake pieces in a half.
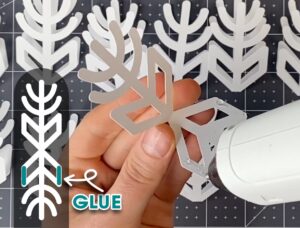
Follow the photo instructions and create 11 separate snowflake pieces by adding glue in the spaces indicated.
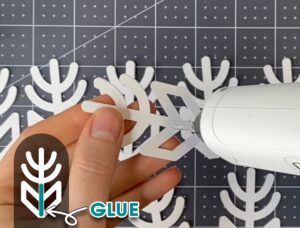
Follow the photo instructions and apply glue to connect all individual snowflake pieces together.
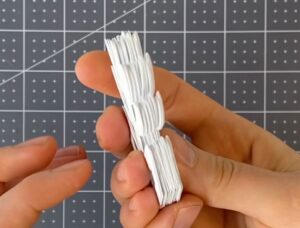
You should get something like this.
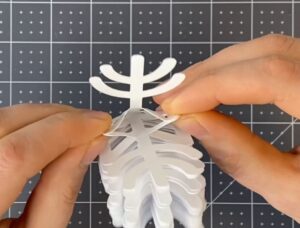
Gently bend all glued parts as it is shown in the photo to shape 3D Christmas Snowflake.
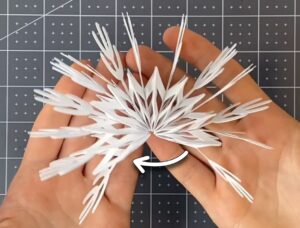
Glue two sides of the snowflake.
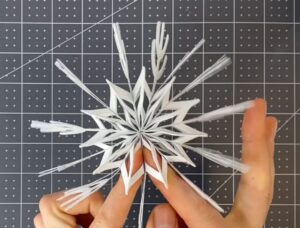
Our Snowflake is done! I hope that you enjoy making these Easy DIY 3D Christmas Snowflakes.
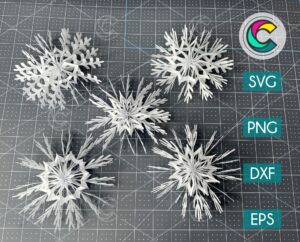
Click on photo to buy 3D Snowflake SVG Bundle with 5 snowflake templates!
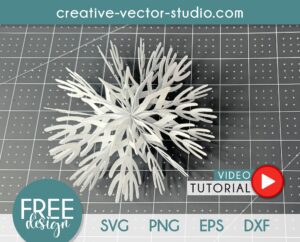
or visit our free category to grab this Free 3D Snowflake SVGTemplate!
Happy crafting!

Leave a Reply