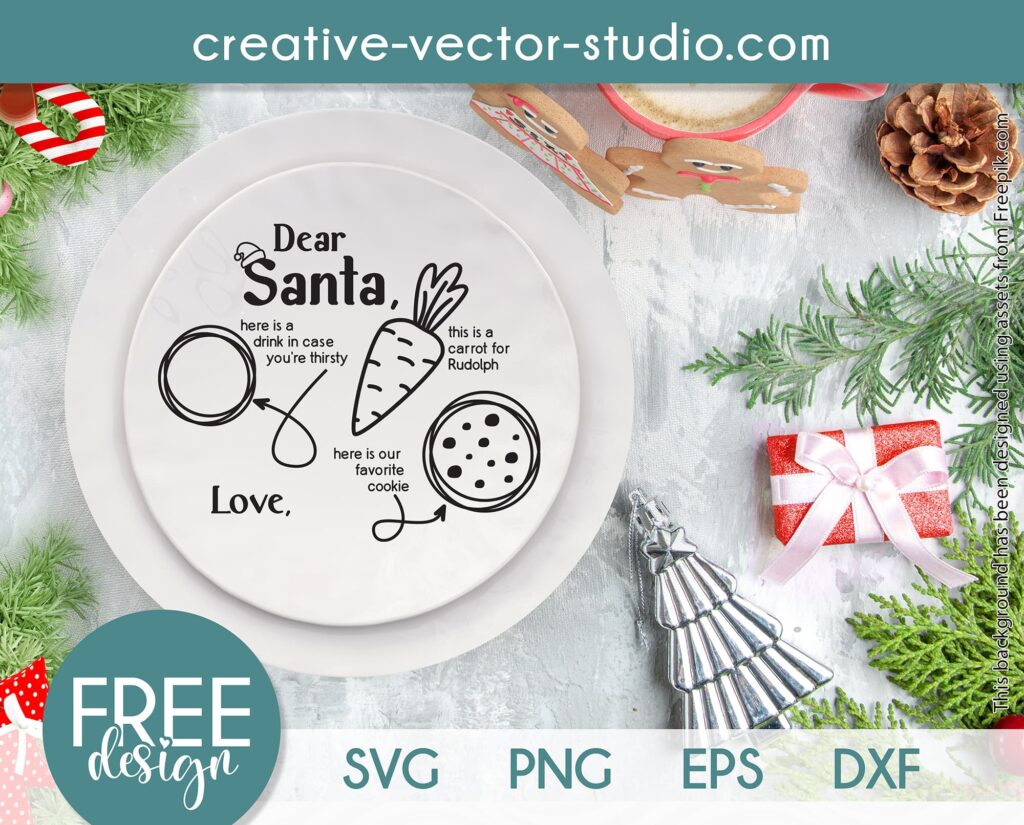
Embrace the festive spirit with our DIY Santa Tray project utilize our free SVG template! This delightful craft allows you to create a charming Santa-themed tray, perfect for serving holiday treats or adding a touch of Christmas magic to your home decor. Get creative with your choice of colors and designs, and follow our easy step-by-step instructions for a joyful crafting experience. Elevate your holiday celebrations with this personalized and functional DIY Santa Tray!
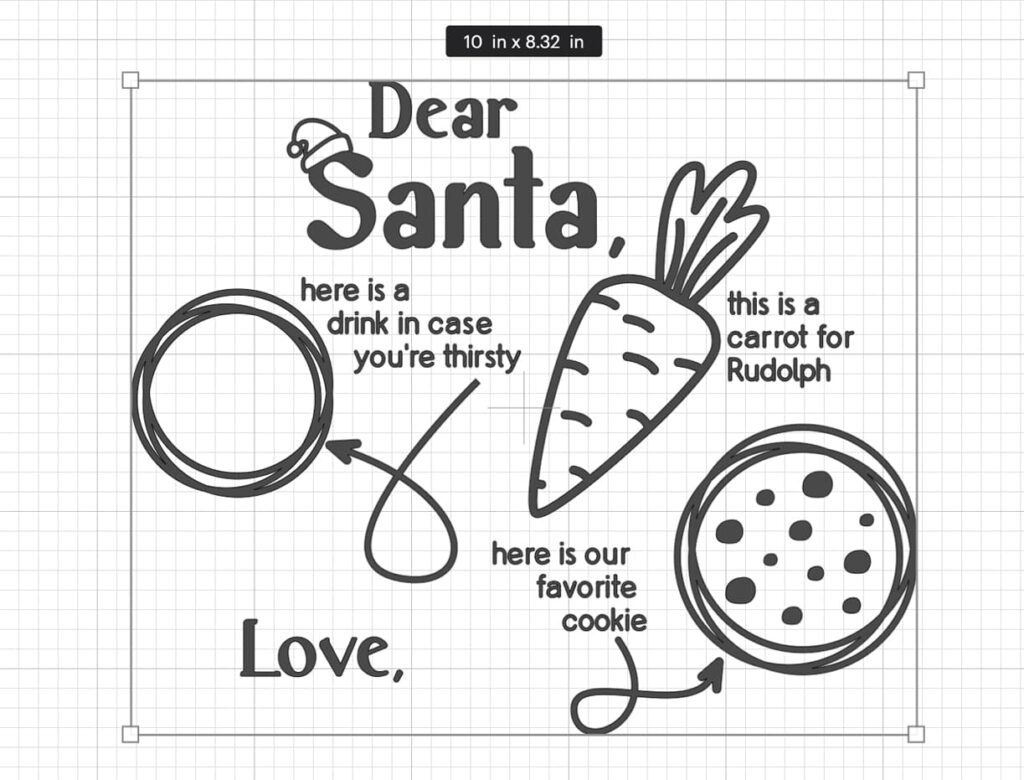
I recommend cutting the design no smaller than a 10″ width. However, read this article to the end if you need to make a smaller Santa Tray.
Alright, let’s transform a plain white plate into a charming Santa Tray with our Free SVG Template!
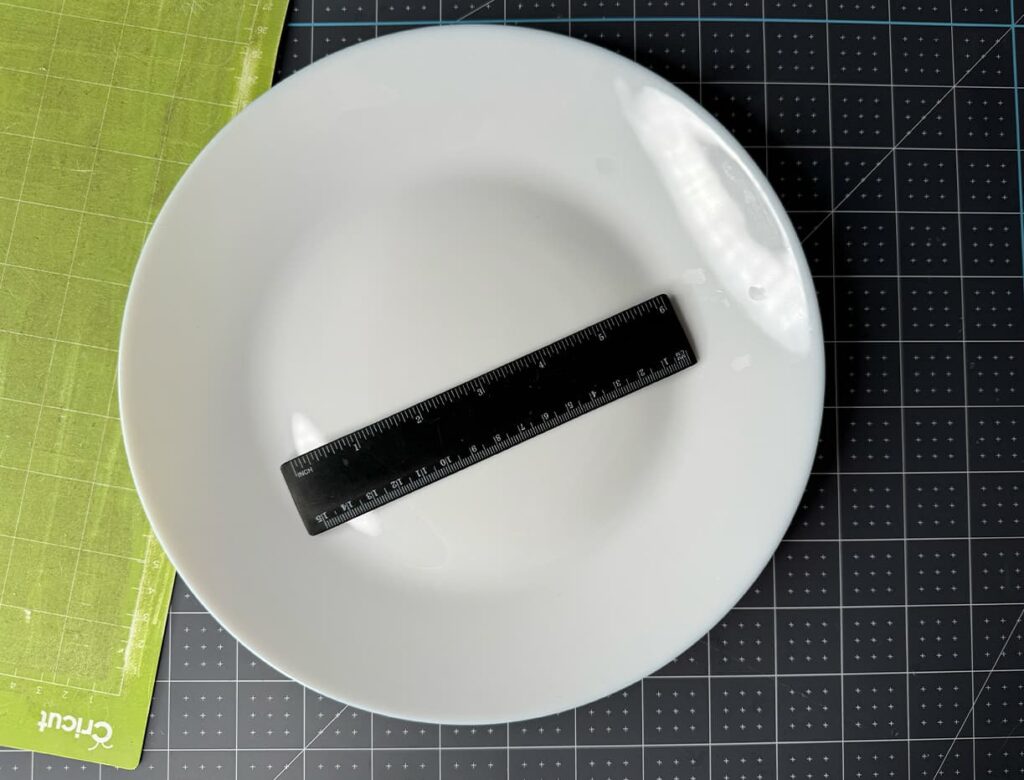
Measure the inner flat part of the plate.

Add circle by 1″ bigger than plate measurements.
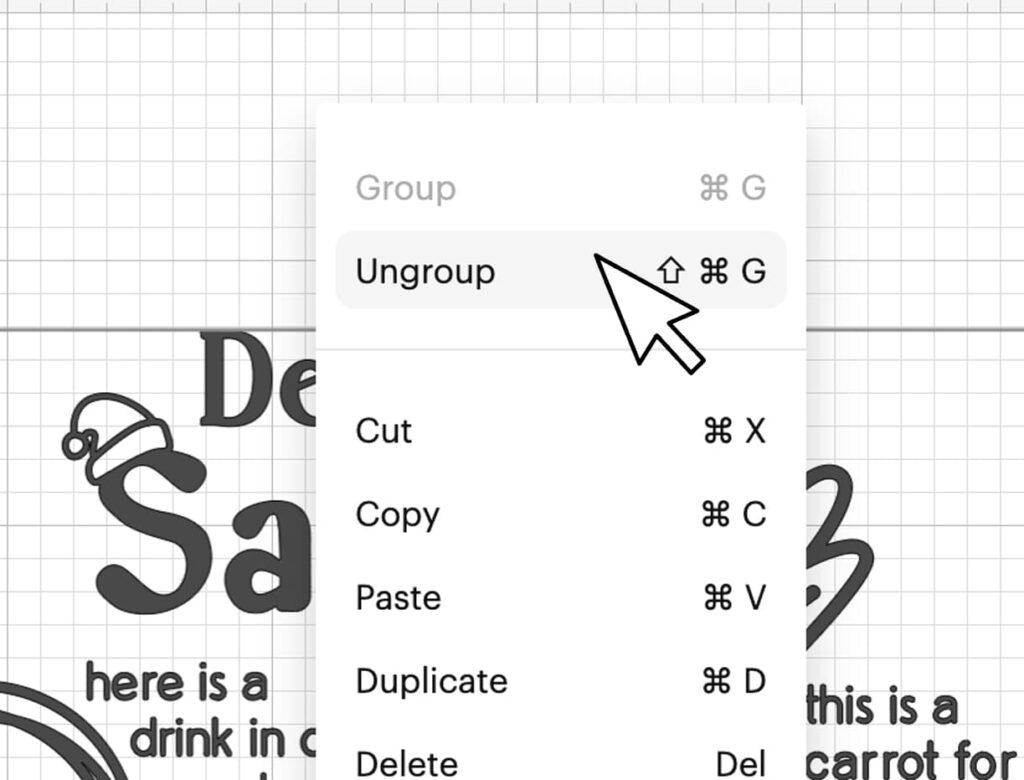
Open our Free Santa Tray SVG and ungroup the project.
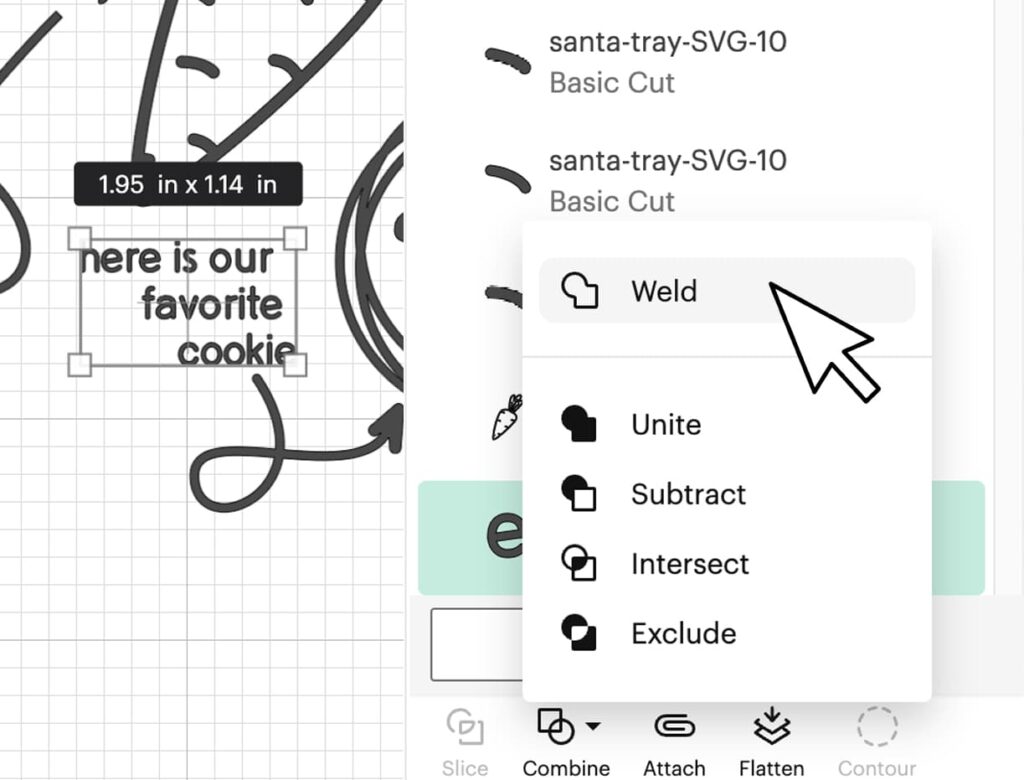
Main secret, we need to save a sizes of the small text, we can’t resize all the project, because we will get bad cutting result. We need to weld all text blocks.
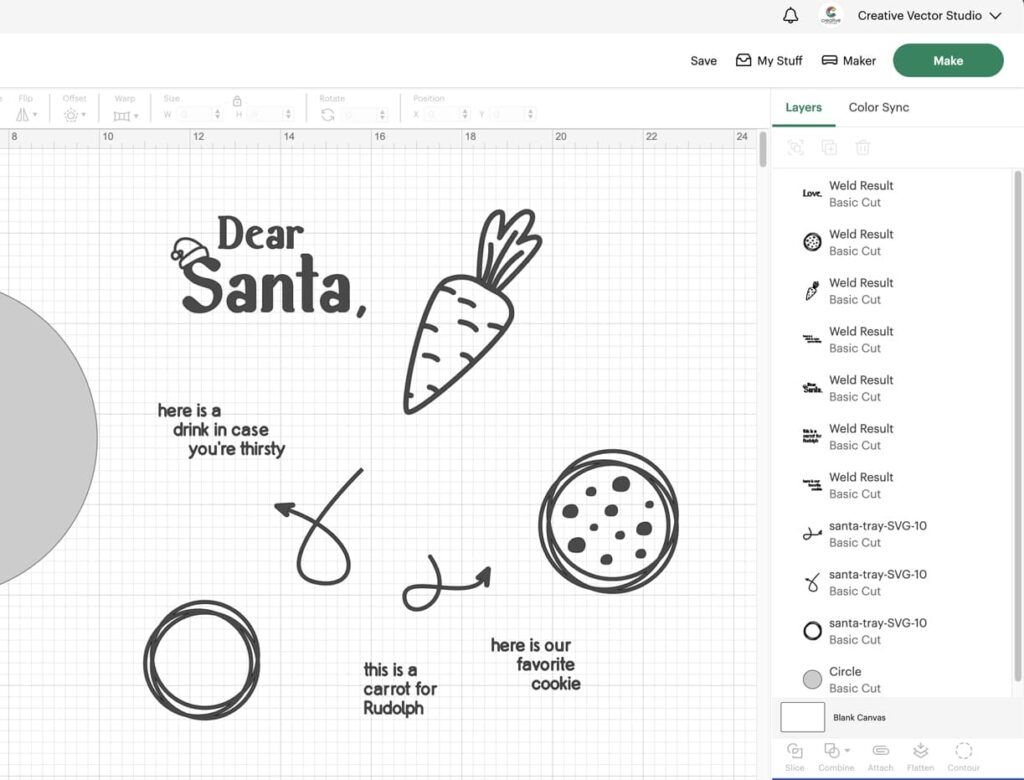
You need to sort of divide the project into parts.
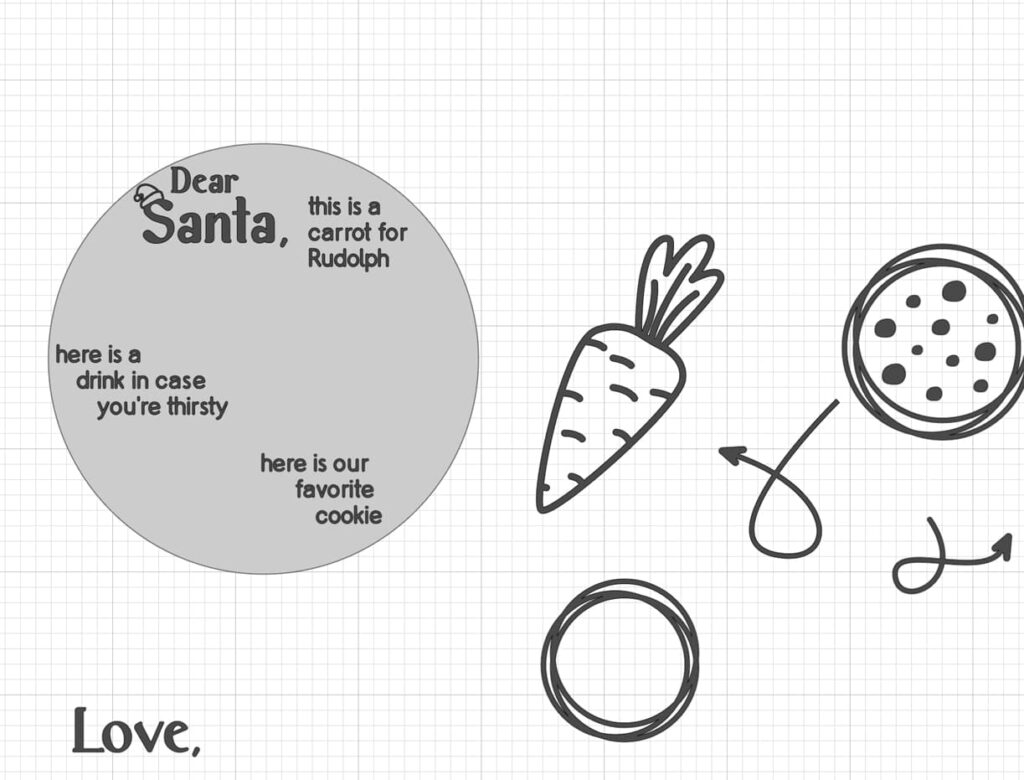
Place all small text groups on our 7″ circle (do not resize them!)
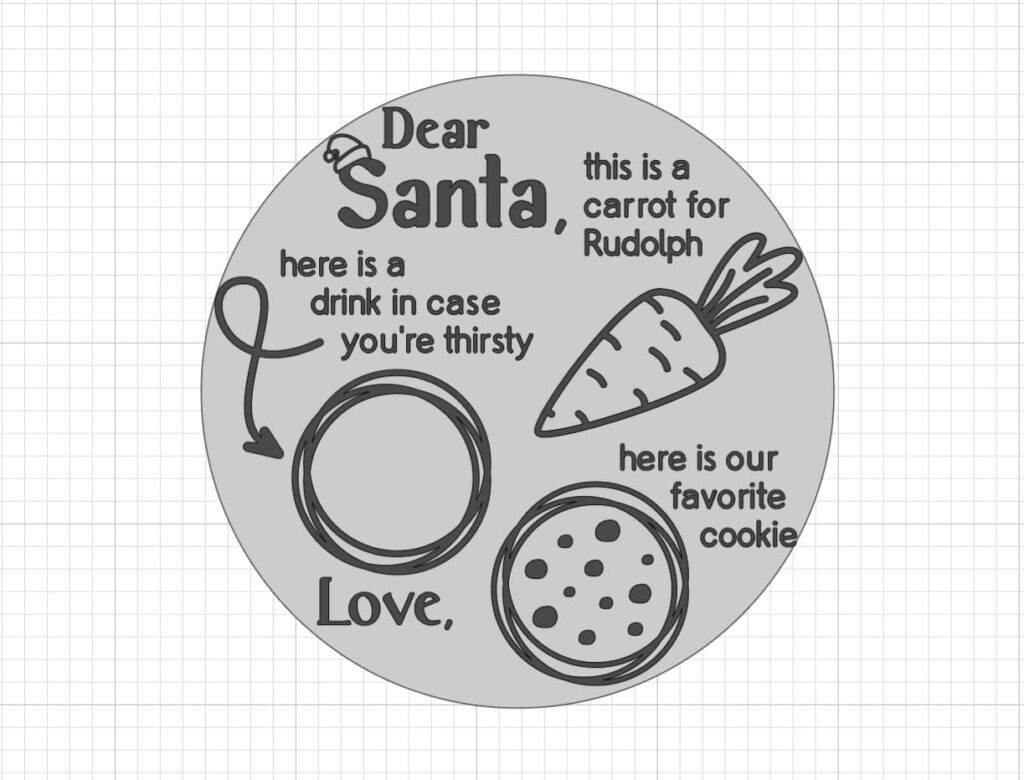
Then resize all decorative parts (carrot, cookie, arrow) to the result you like.
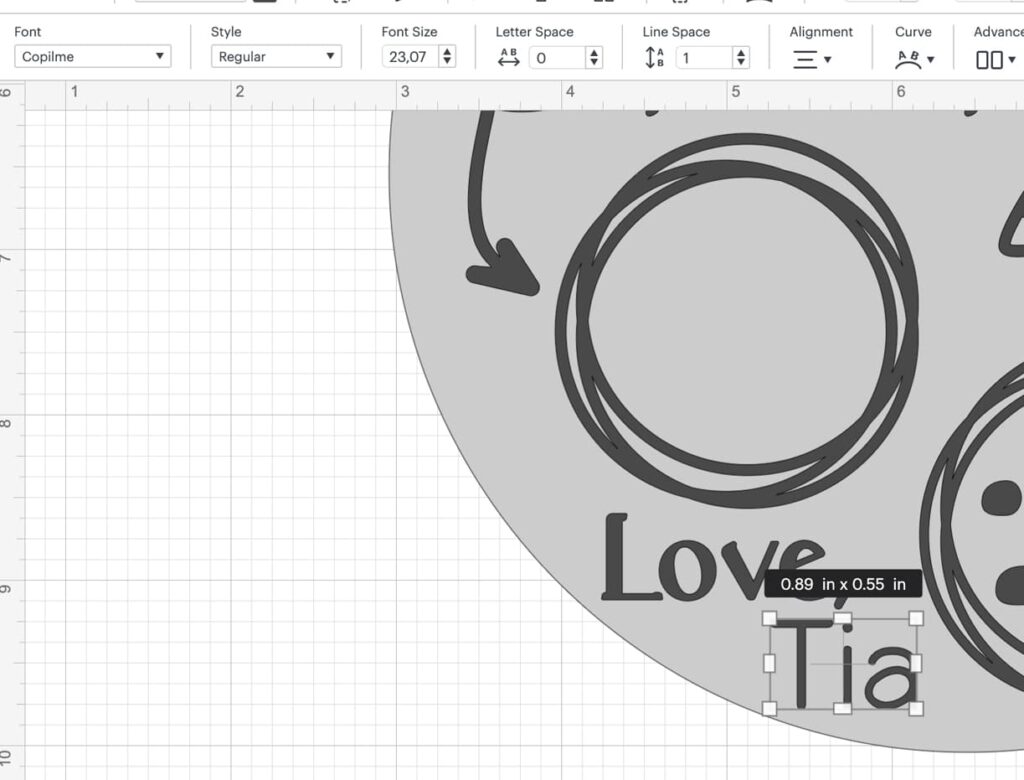
Personalize your Santa Tray. I used Copilme font for this project.
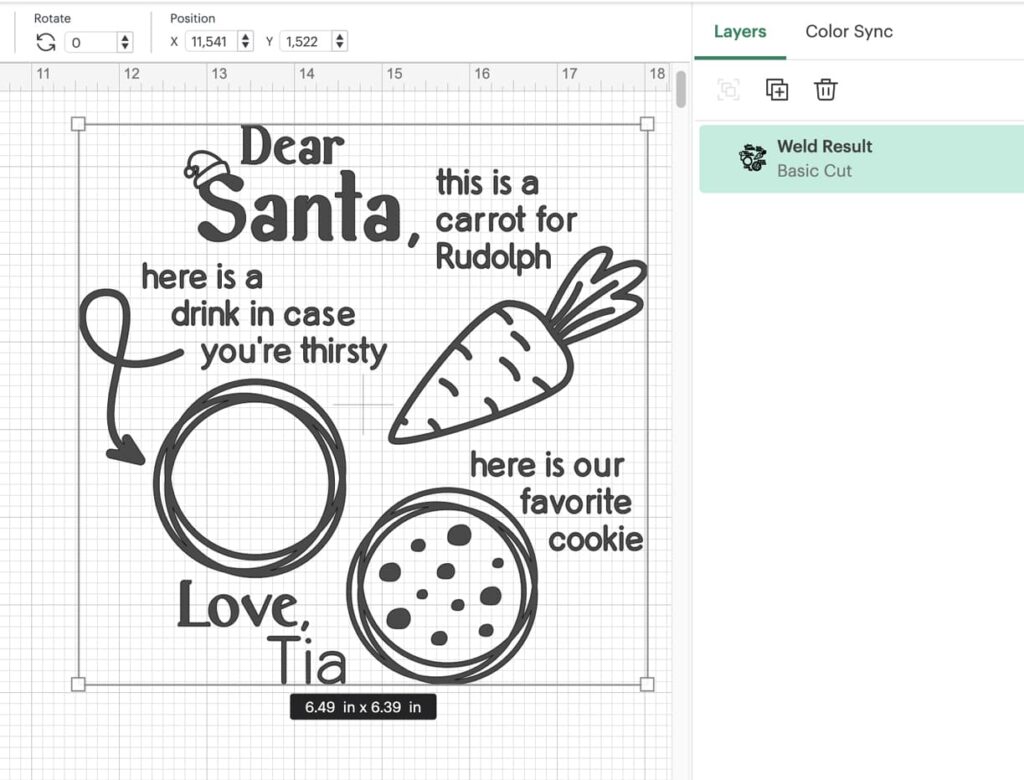
Weld all pieces of the project before cutting!
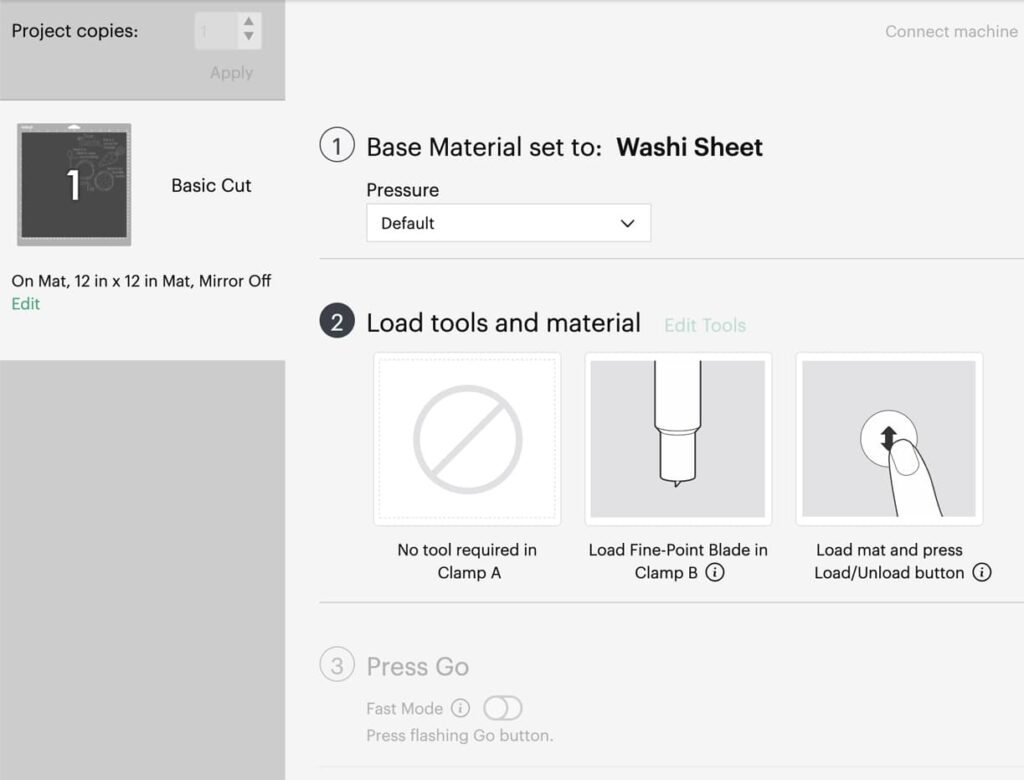
I cut vinyl I alway use Washi Sheet setting to get good cutting result.
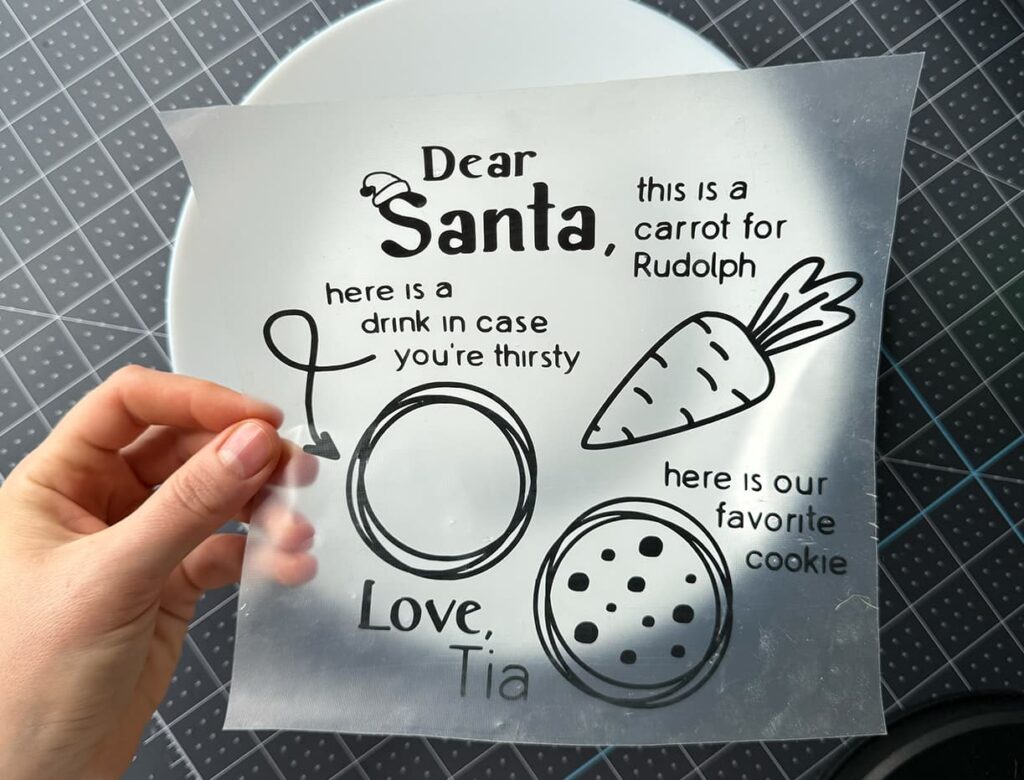
Then using reverse welding method remove all unnecessary parts of vinyl. It’s the best way to save all pieces of the project in correct places.
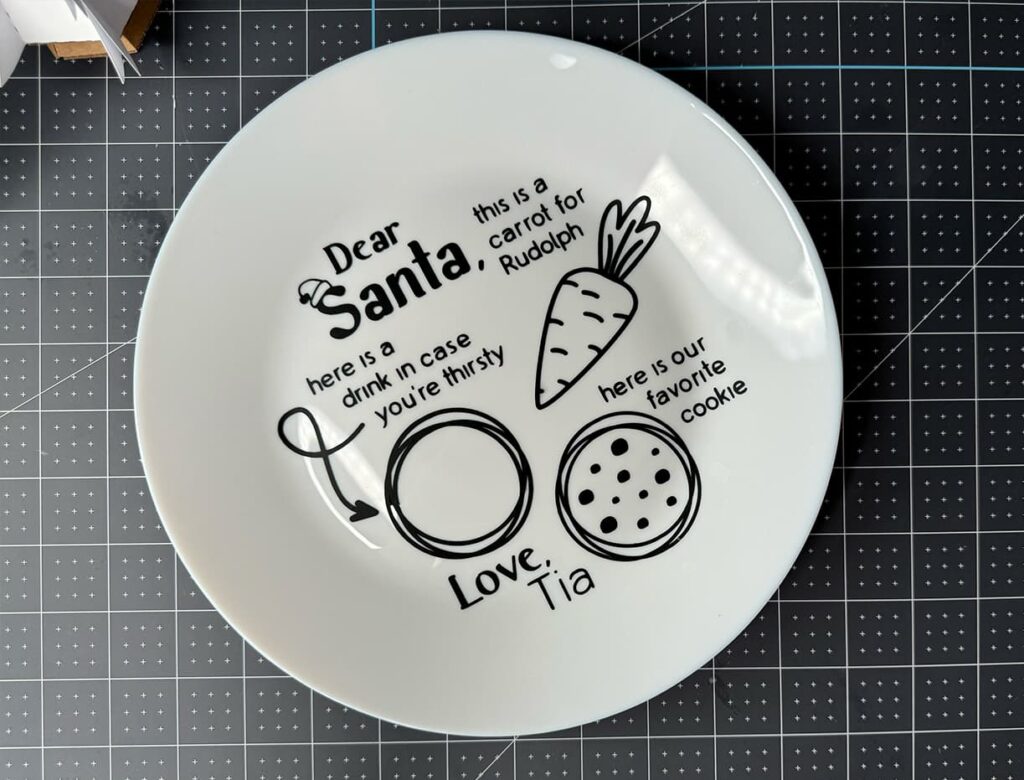
Glue vinyl on the plate and decorate with milk, carrot and cookies. Well done!
Visit out Free Section to download for free this template or click on image below to relink to this template.
Happy crafting!

Leave a Reply