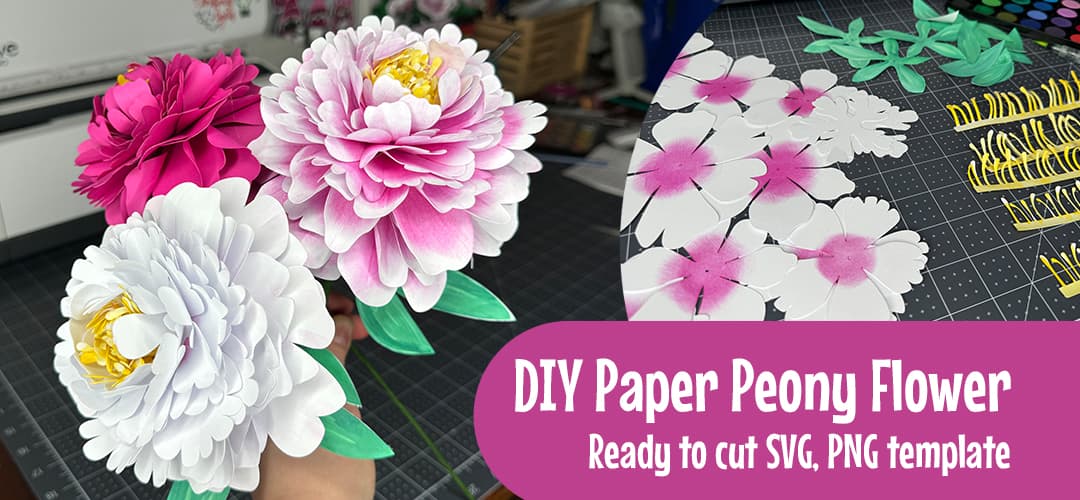
Do you like peony flowers? Woluld you like to make the same one?
Discover our top tricks and tips for creating lifelike blooms!
One of my favourite flowers are peonies and it is so sad that they have a flowering period of literally a couple of weeks and that’s all. You can’t enjoy the beauty of these stunning flowers all year round. So I experimented for a long time and finally I nailed it! Alright, now I can spill the beans and share my experience with you, along with all my tips and tricks.
Let’s start to make Peony Flower!
The first step – cut all the details using a cutting machine or snip ’em out with scissors.
I saved my project with the recommended size for cutting ’cause it gives you a result closer to the real deal, ya know? But hey, you can totally scale it up if you wanna. But, if you’re thinking of making a smaller flower, swap out two of thin flower centers stripes for a bigger one, ’cause otherwise, you’ll run into some cutting issues.
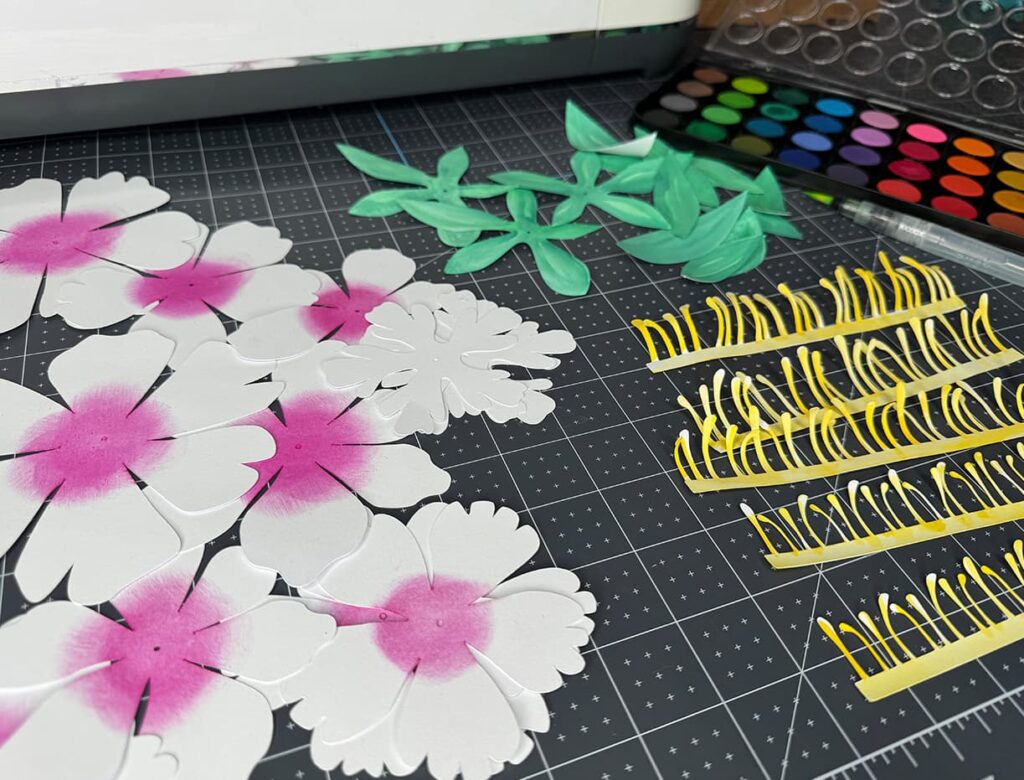
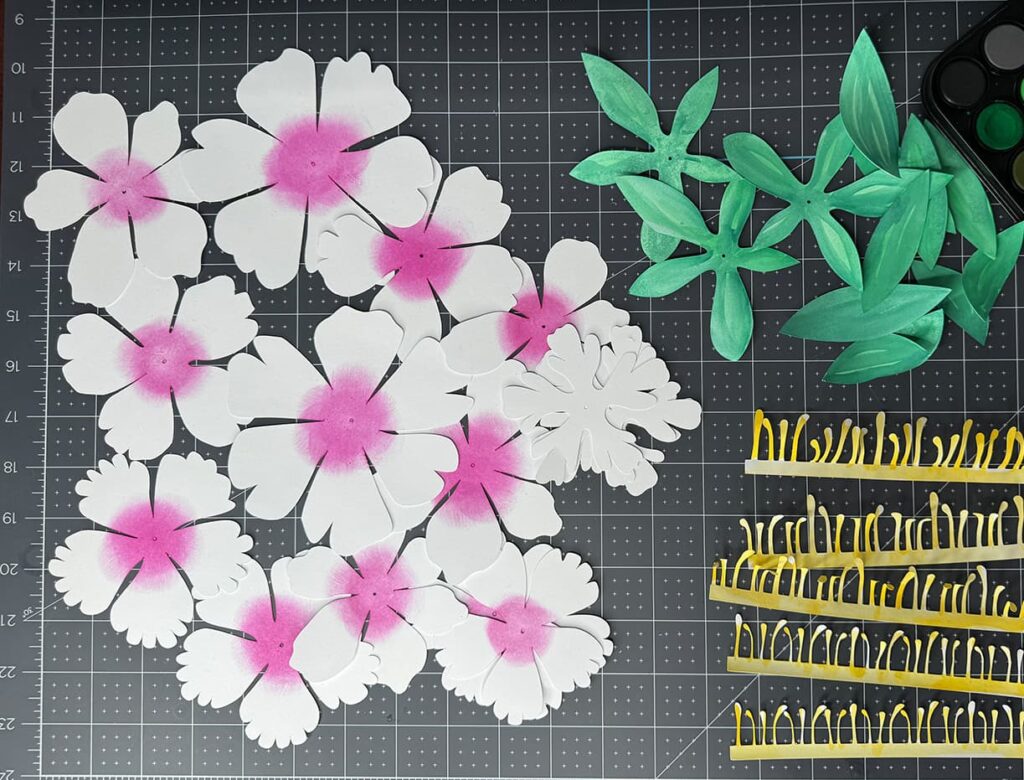
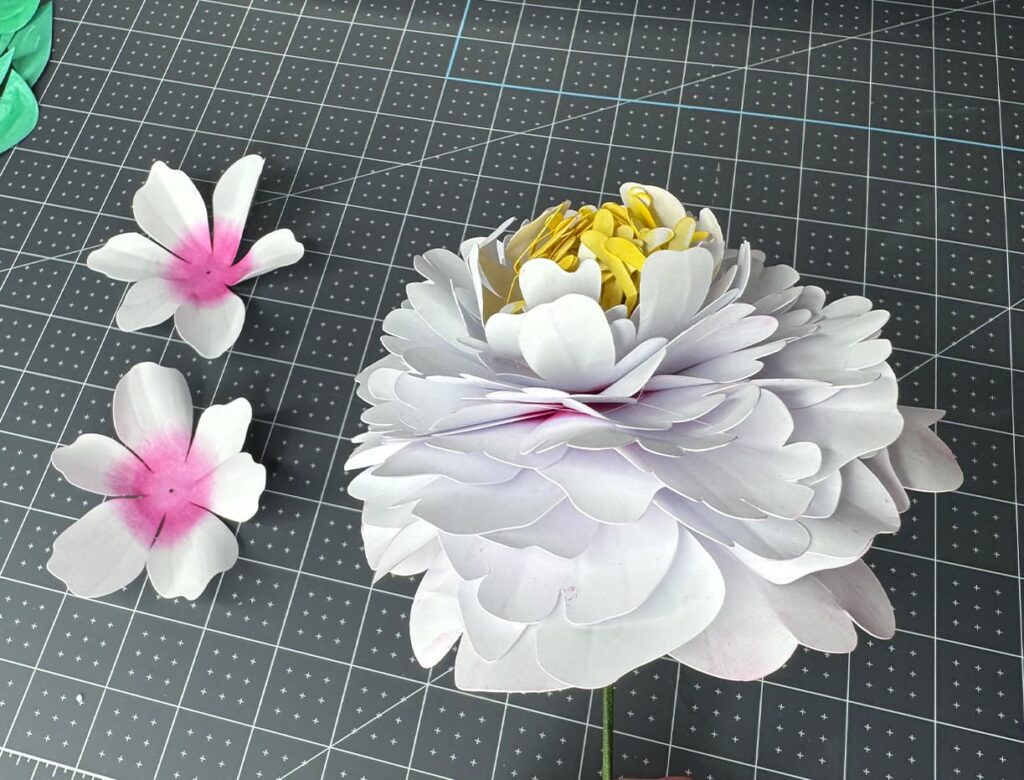
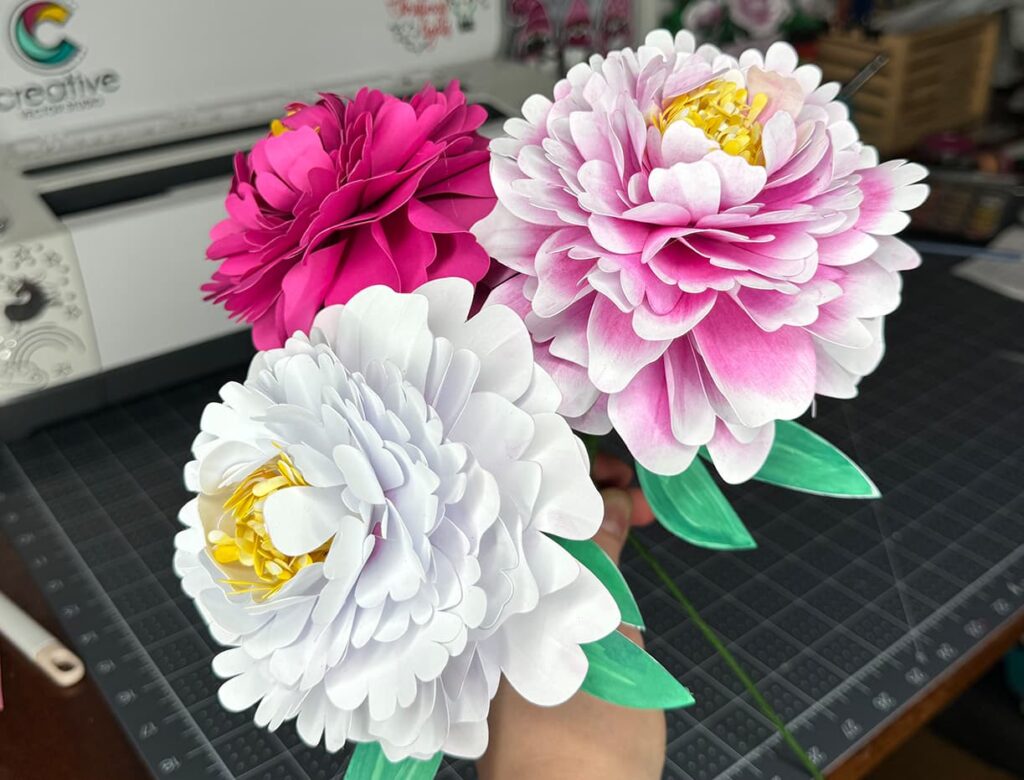
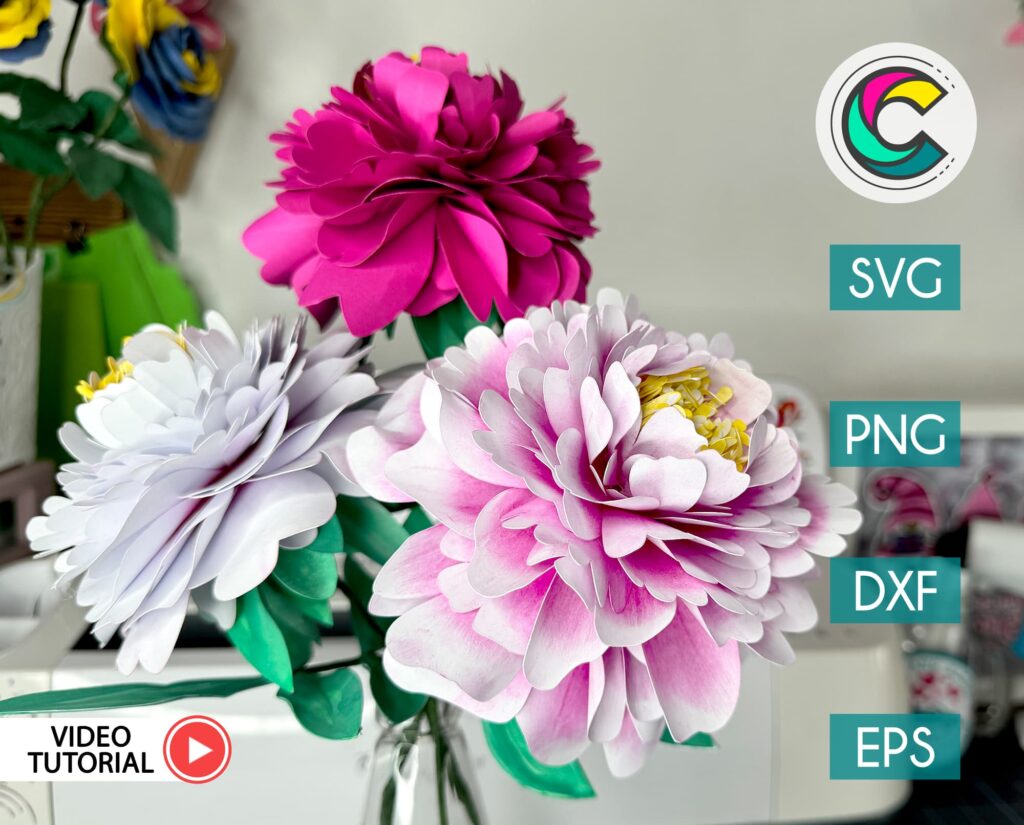
So at the top image I showed you two variants of coloring paper peony flower. You can use already colored cardstock or paint up some plain white paper with watercolor paints, pastel or etc.
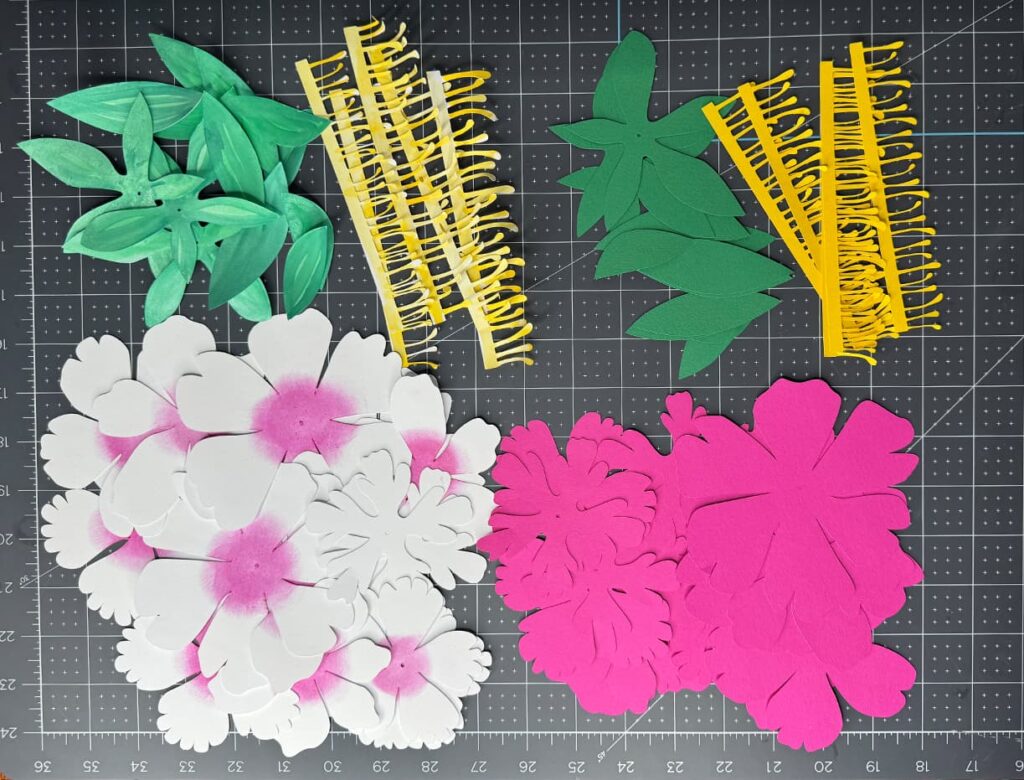
In addition, in this tutorial I will show you the way I used watercolor paints to coloration all the pieces of the flower.
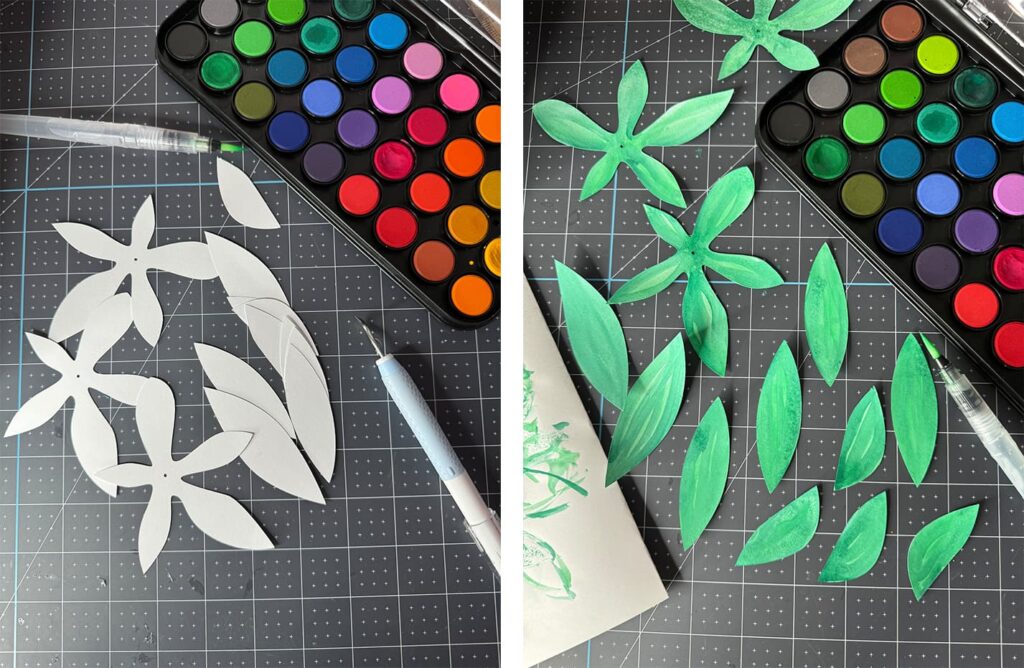
First I used a several different green shades to whip up some gorgeous leaves and sepals. The sepals I coloured in the both sides.
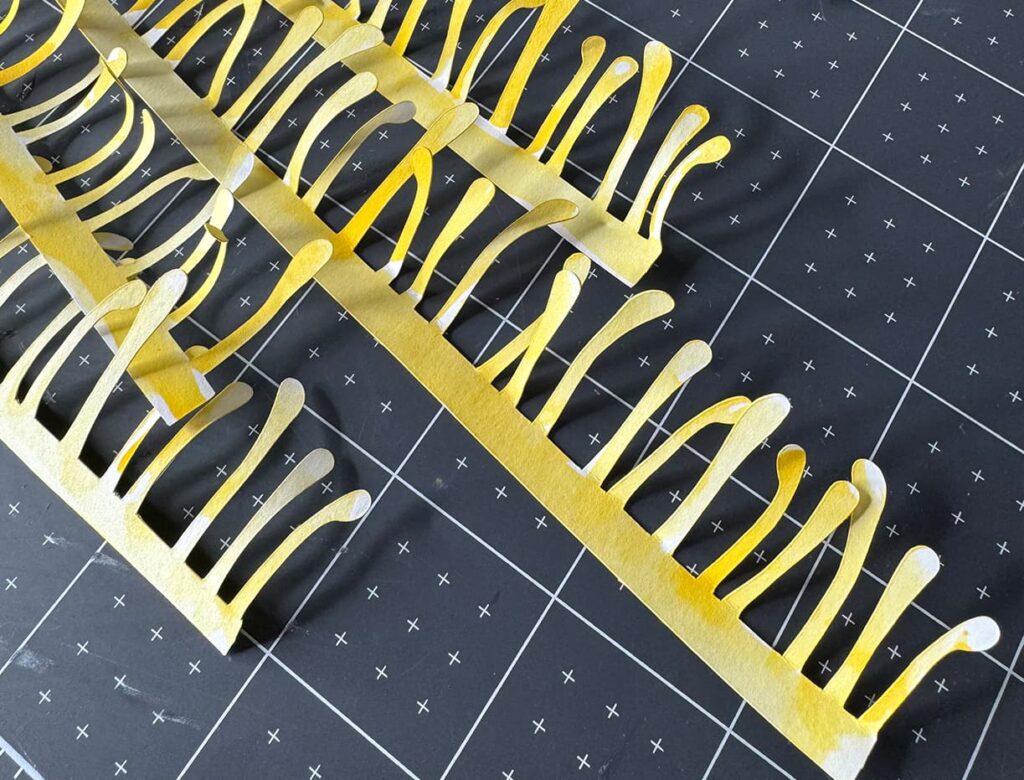
Secondly I colored both sides of stamens for maximum vibrance and similarities with real flowers.
I added a bit of pink right in the middle of the flower petals to amp up the beauty factor and give the bloom a soft, rosy hue.
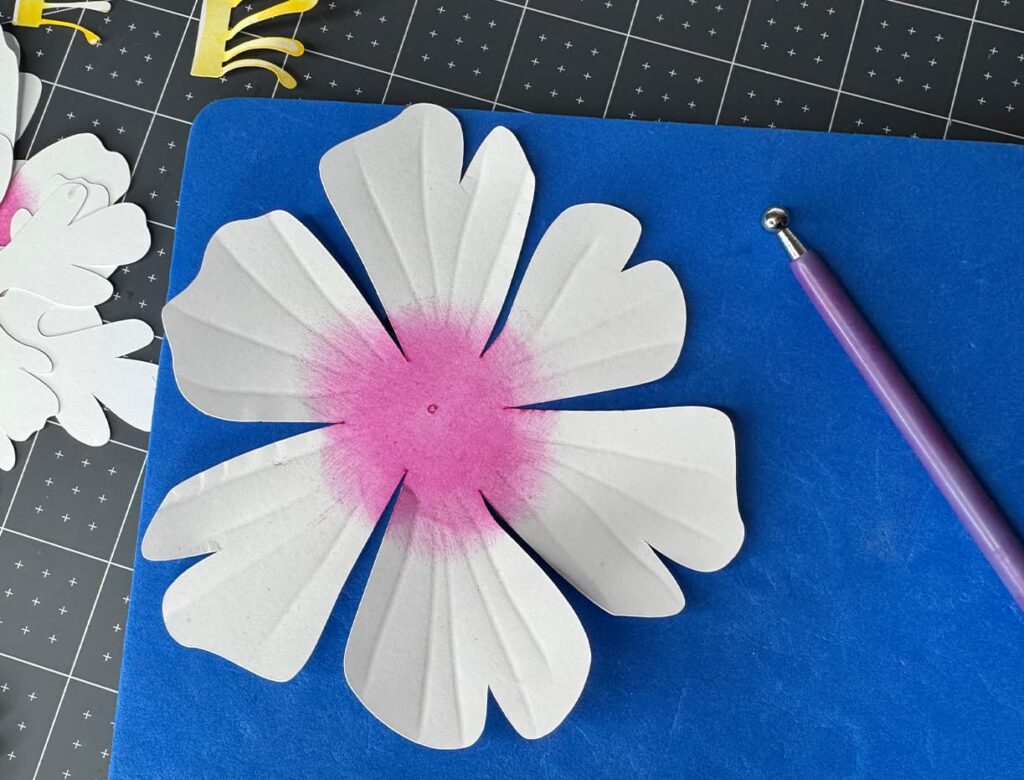
Add a bit of charm to the flower, make a stripes on each petals as it is shown in the photo.
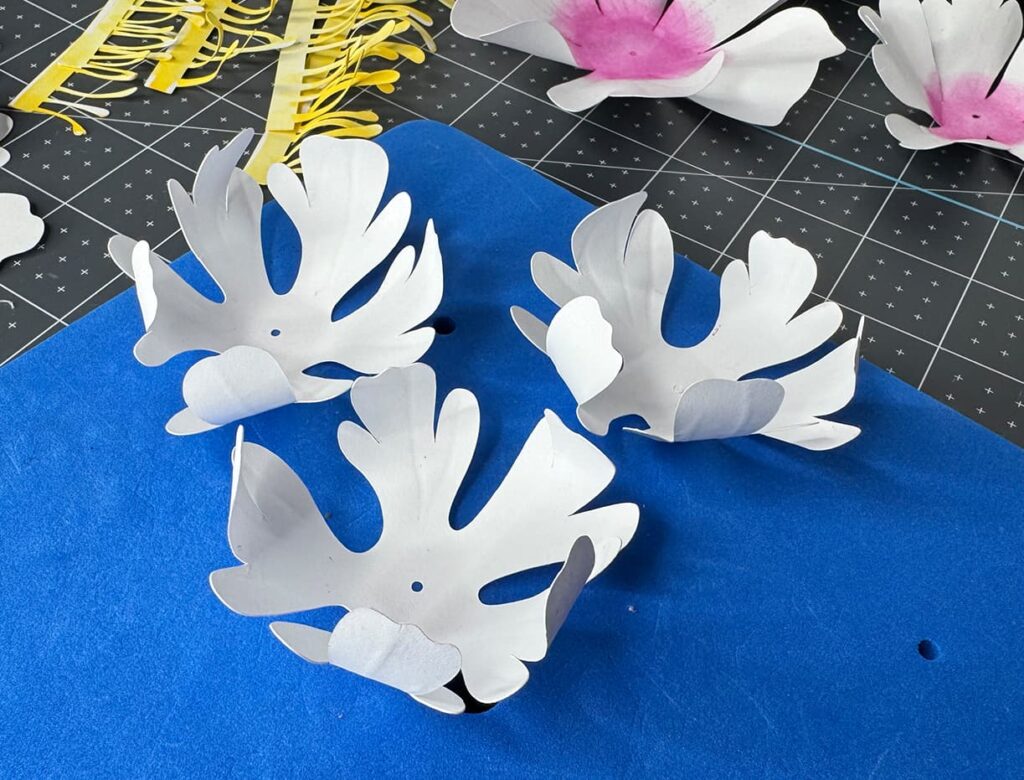
Gently and randomly shaped the petals. Curl the edges to add a natural look and volume to your paper peony flower.
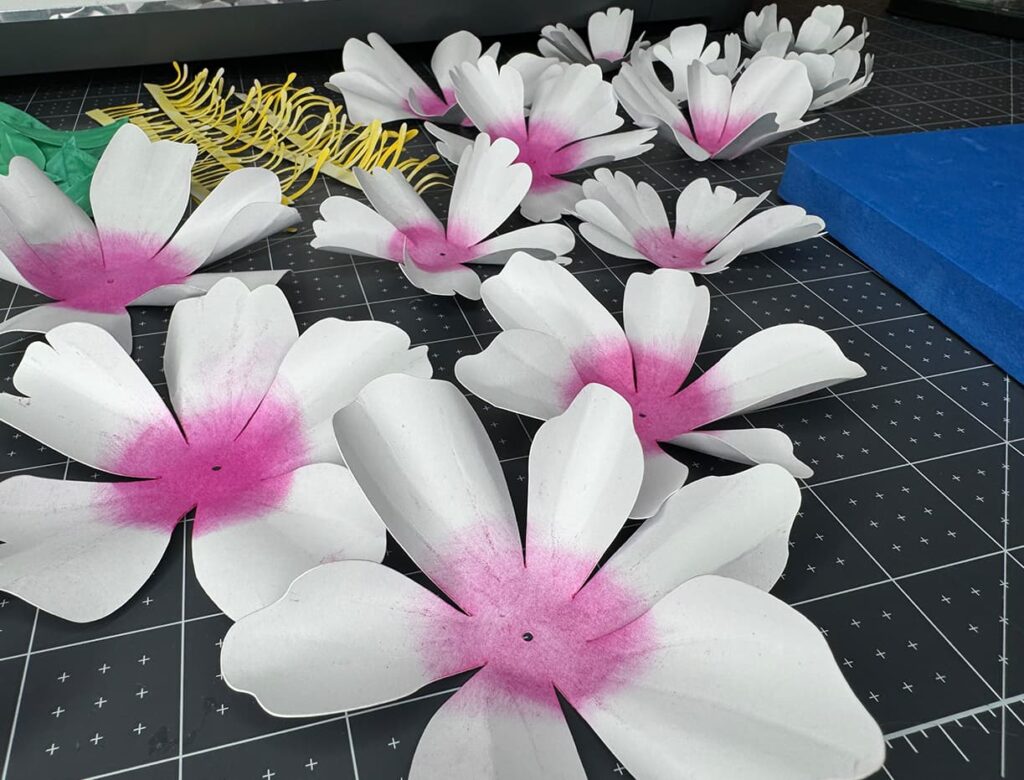
Curl the edges of the smallest petals inward.
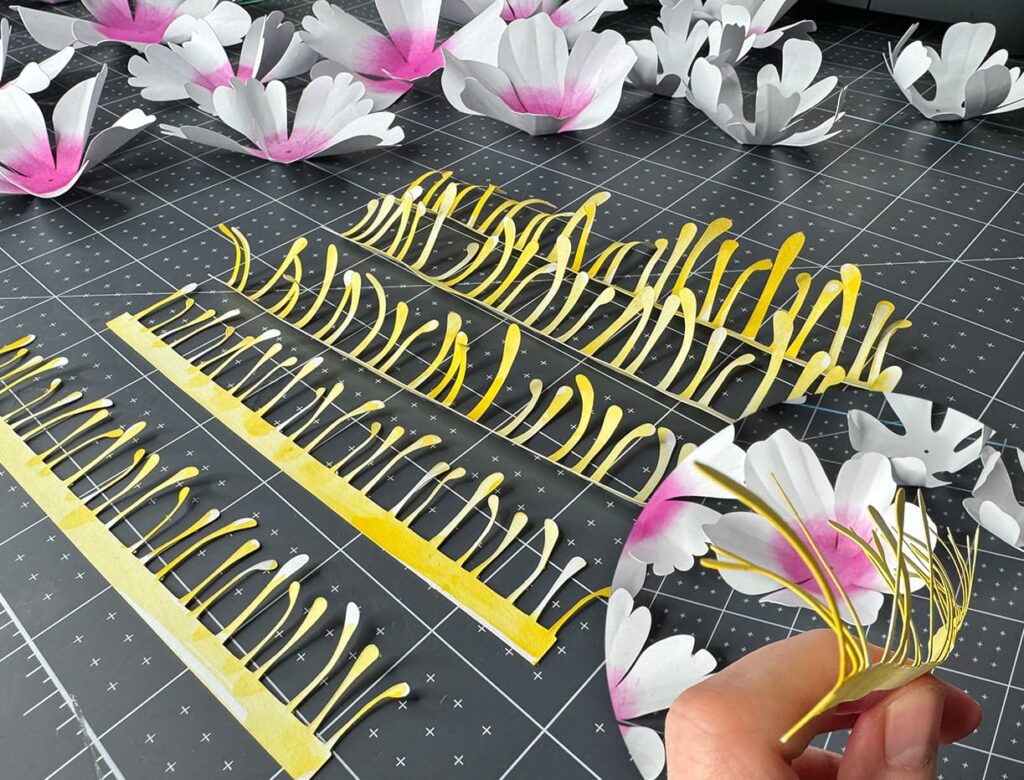
Gently curl the flower stamens.
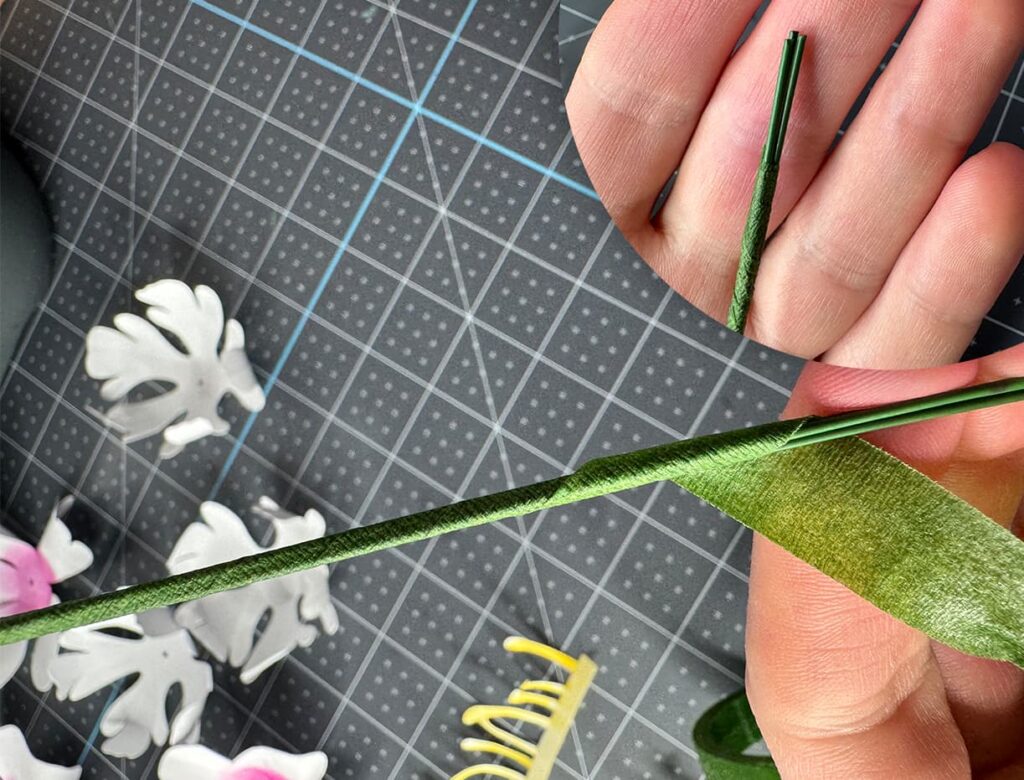
Take 3 or 4 flower wires (I talk about wire 1 mm in diameter and 12” length). Connect them together using floral tape.
Leave about 0.5” wire without tape from one side (you will glue there flower center stripes).
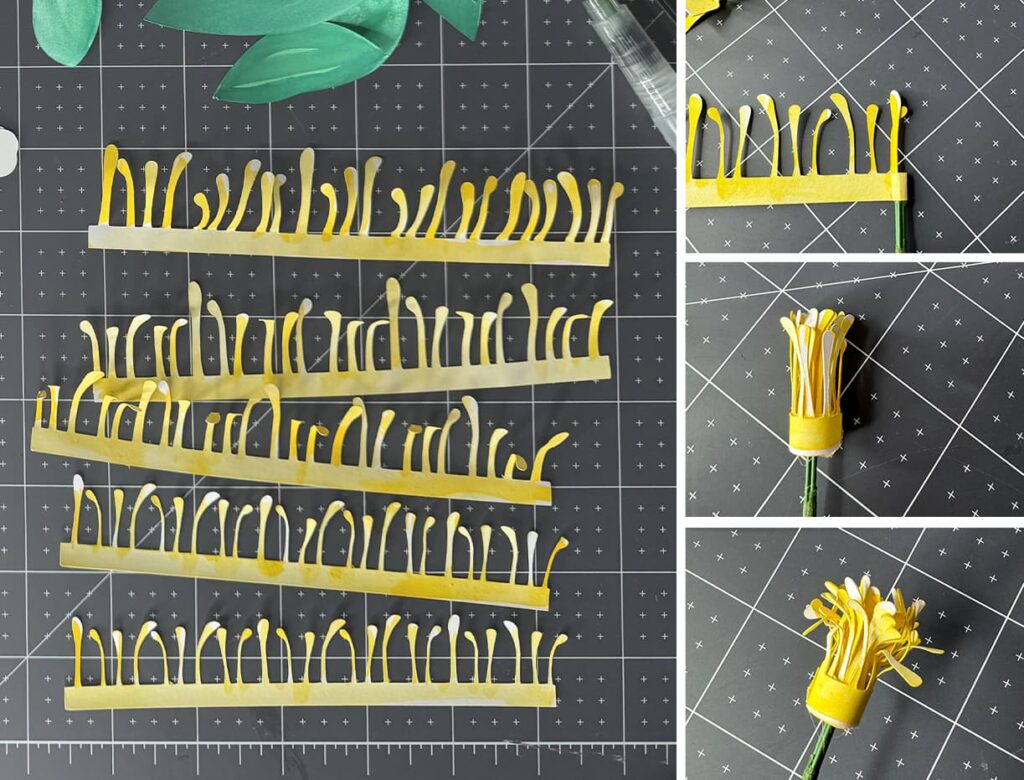
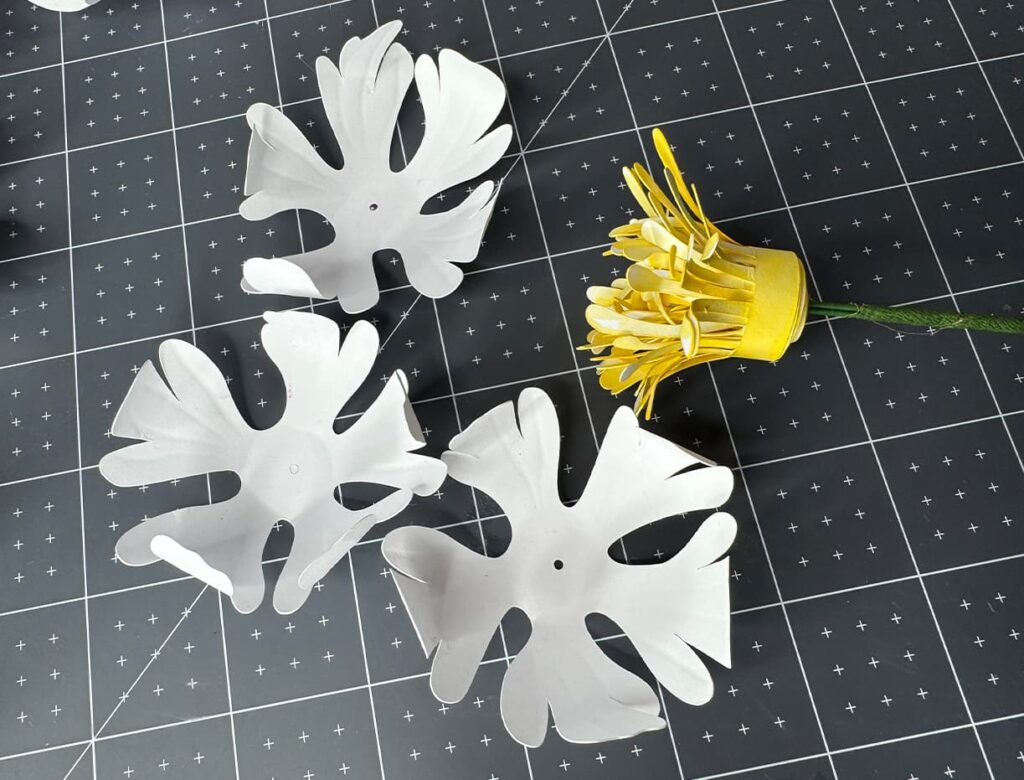
Glue the stripes to the stem from thinner to thicker.
Then take 3 smaller peony flower petals and glue them as it shown.
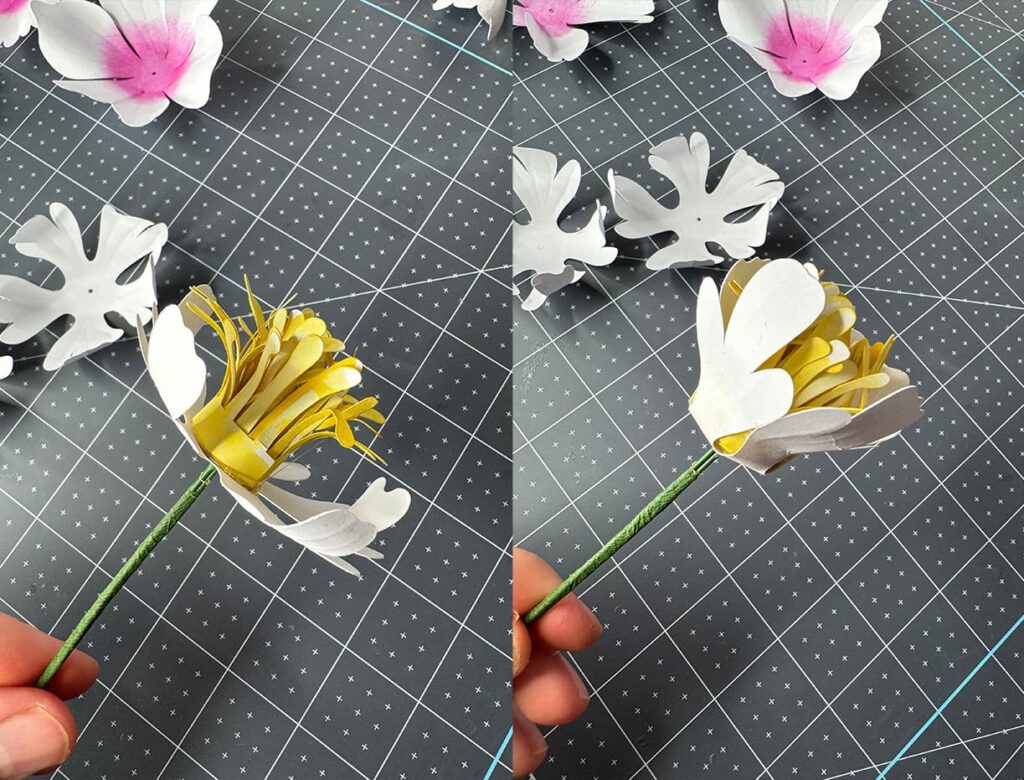
Next step – you need to choose all petals the shape we showed on the photo and glue all of them from smaller to bigger one.
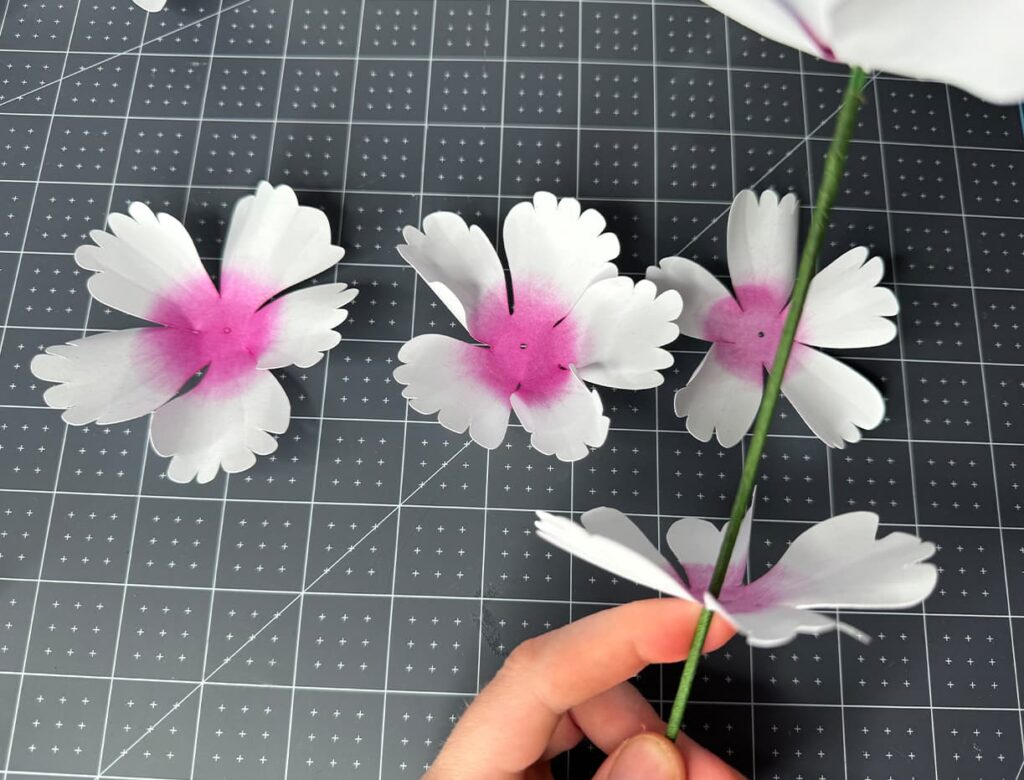
Next you need to glue other remaining ones by bending the petals down, but pay attention, you need to leave 2 small petal layers.
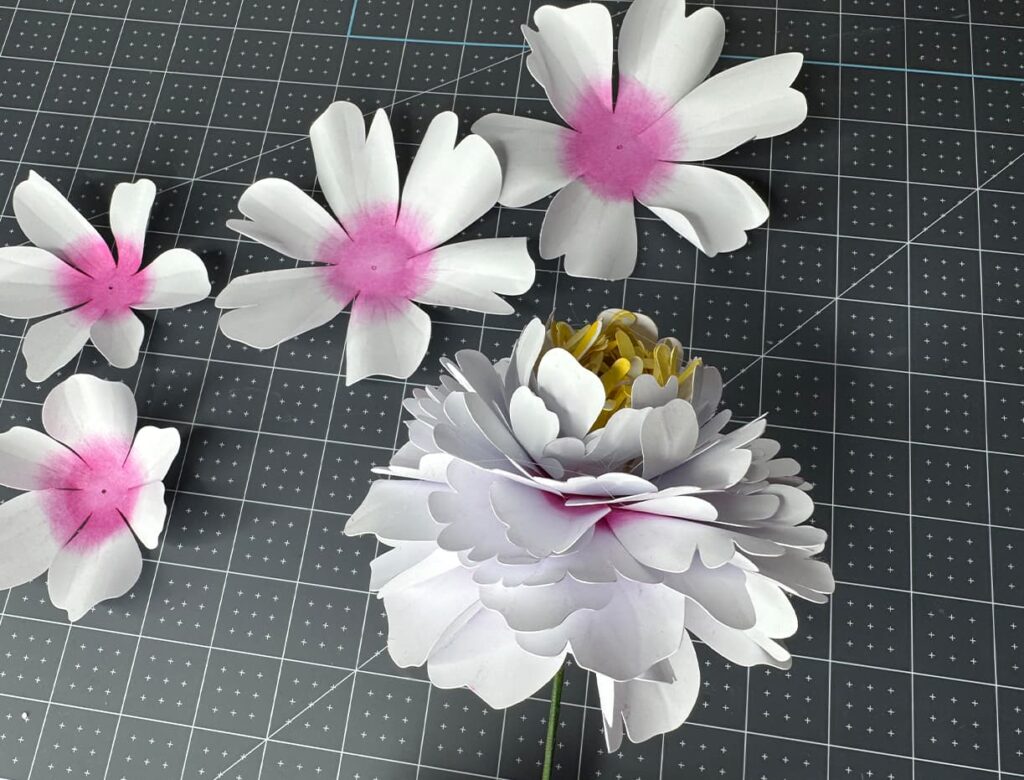
Last but not least, the final step: glue two small petals to create a stunning flower that looks gorgeous from every angle.
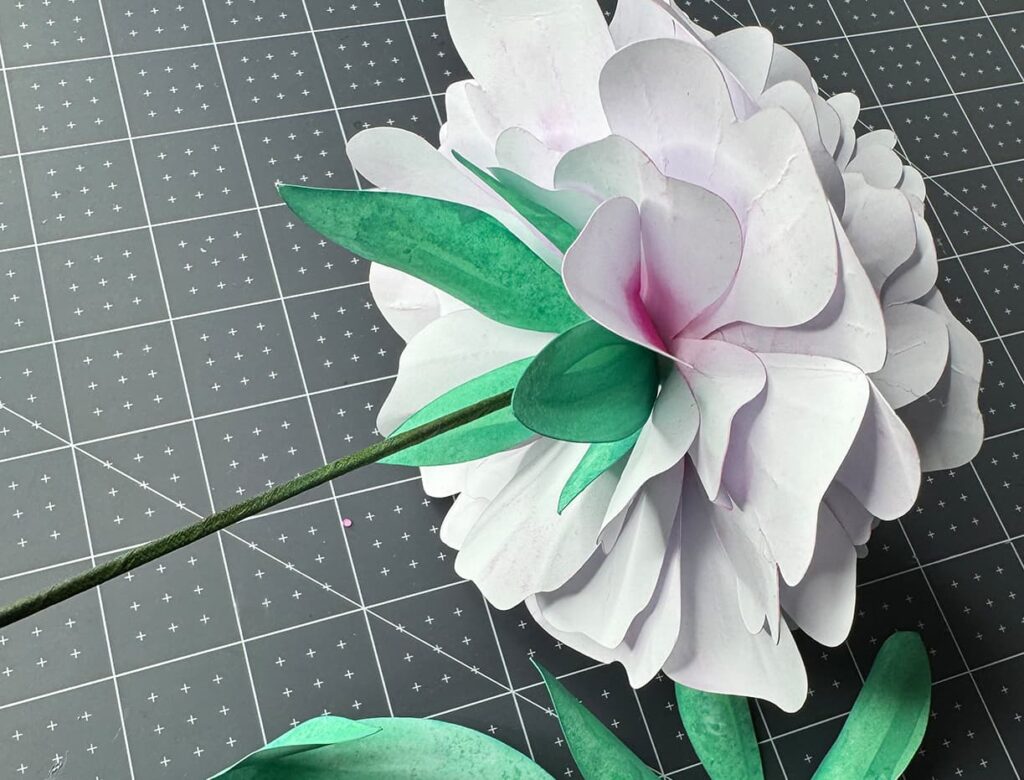
Glue 3 sepals.

Let’s make leaves.
Take flower wire (5 pieces of 4-5 inches each)
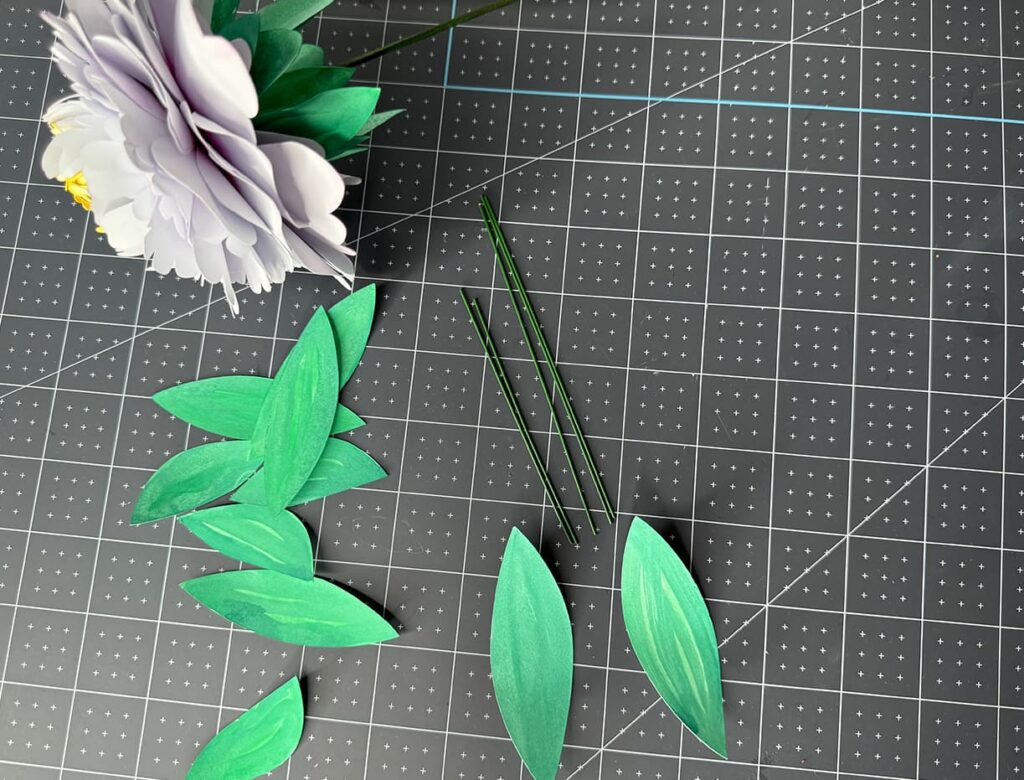
Glue the piece of flower wire to one piece of the leaf.
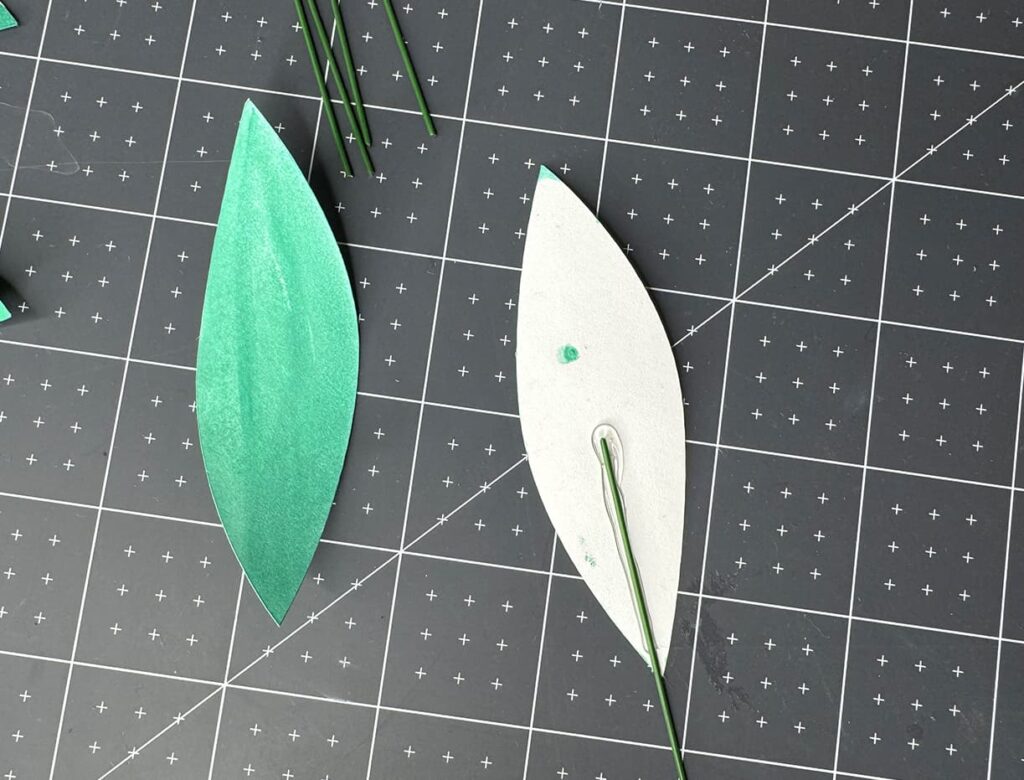
Glue the same leaf on top of the first one. Then bend the leaf in a half.
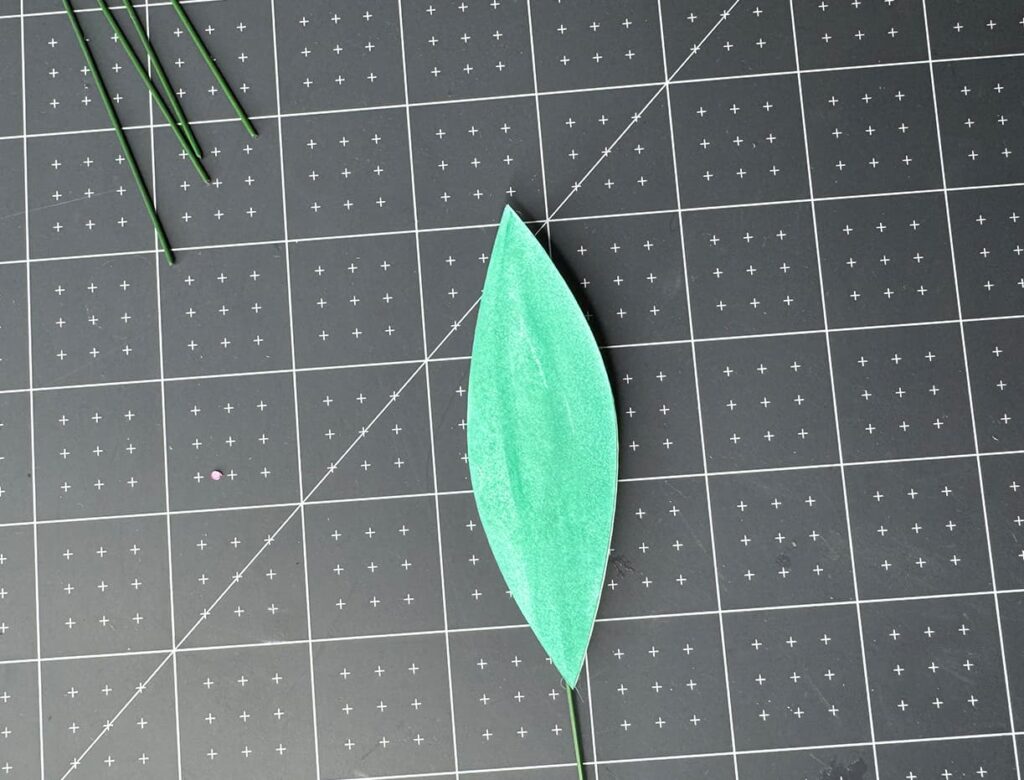
Glue all other 5 leaves and connect them using floral tape.
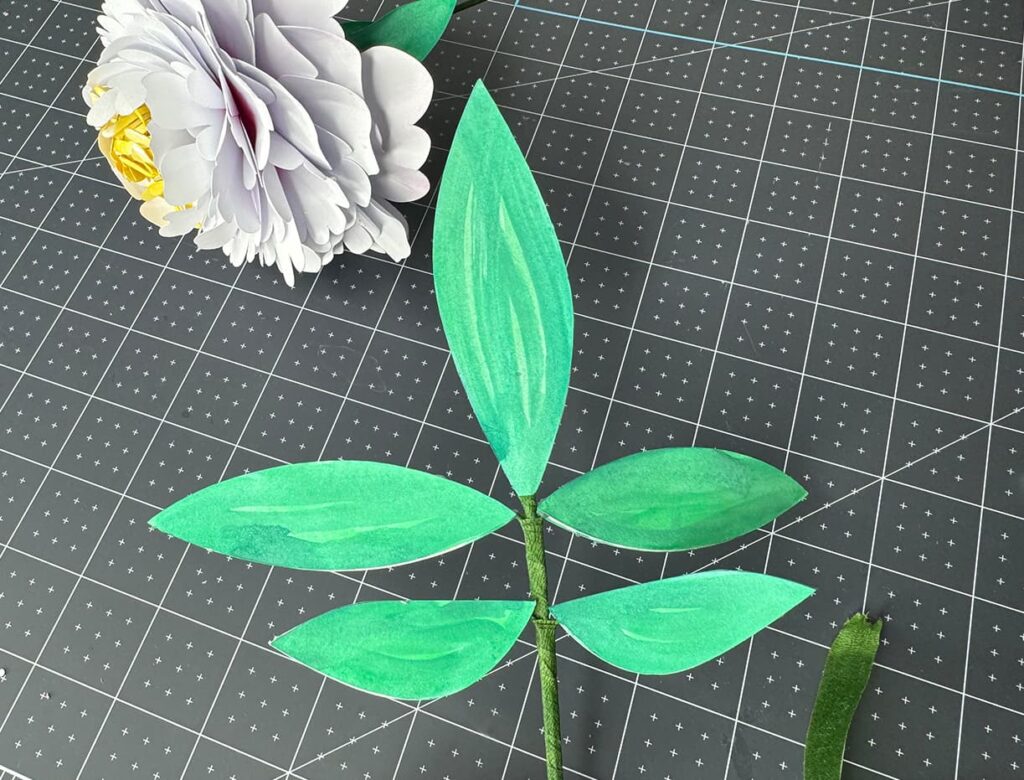
Connect our ready leaf to peony flower stem using floral tape.
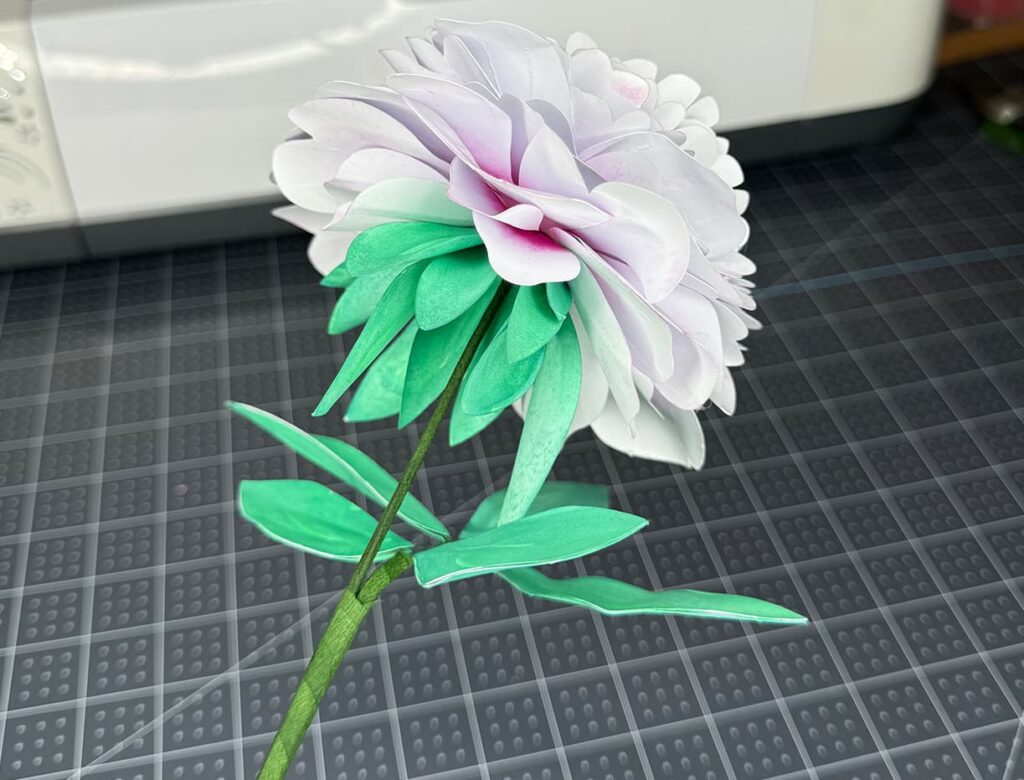
Yeeeeeep! We nailed it! Our paper peony flower is officially done! Hope you enjoyed the project!
Here is a list of the materials and tools I used to make this project
- Cricut Cutting Machine
- Cordless Glue Gun
- StandardGrip Mat
- White Cardstock Paper
- Watercolor Paints
- Foam Mat
- Ball Shaped Stylus
- Flower Wire
- Floral Tape
I think a video tutorials are always better because they allow you to see the process in action, providing step-by-step guidance and eliminating any confusion that may arise from written instructions. So experience the magic firsthand and watch our video tutorial!

Leave a Reply