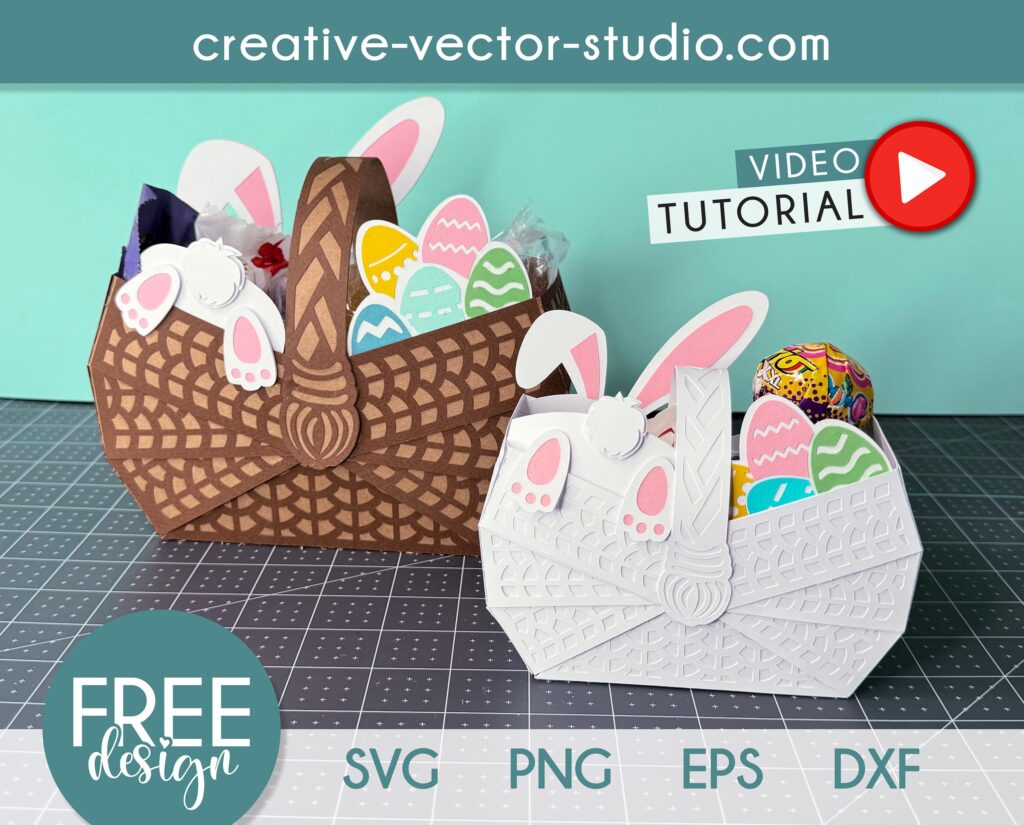
Hey there! Excited to share my latest freebie with you all – introducing the Free Paper Basket SVG and explain How to Make DIY Paper Basket! Just head over to my website and hop into the free section, or simply click on the image below to snag your download. Let’s get crafting together!
Alright, buckle up folks, ’cause I’m about to spill all the beans and walk you through how to make it happen. Ready? Let’s dive in!
I suggest keeping the basket at least the size I’ve saved in my project. That way, you’ll end up with a basket around 3 inches tall and 5 inches wide. But hey, if you wanna go bigger, no problem! Just remember to maintain the proportions and use heavy cardstock paper for sturdiness.
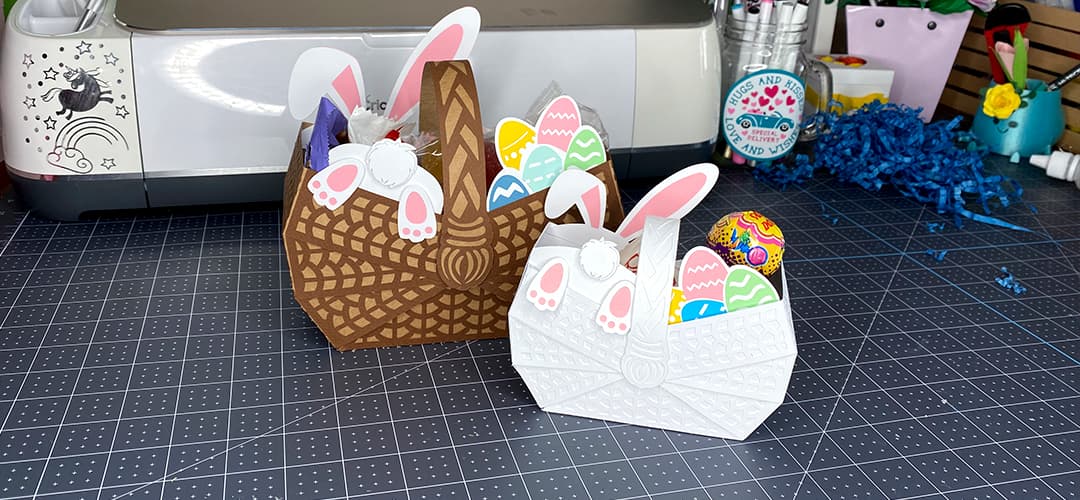
Since Easter’s right around the corner, I’ve sprinkled in some festive Easter decor into this template. But hey, feel free to get creative and pop in some flowers or any other thematic decorations you fancy. It’s all about making it your own!
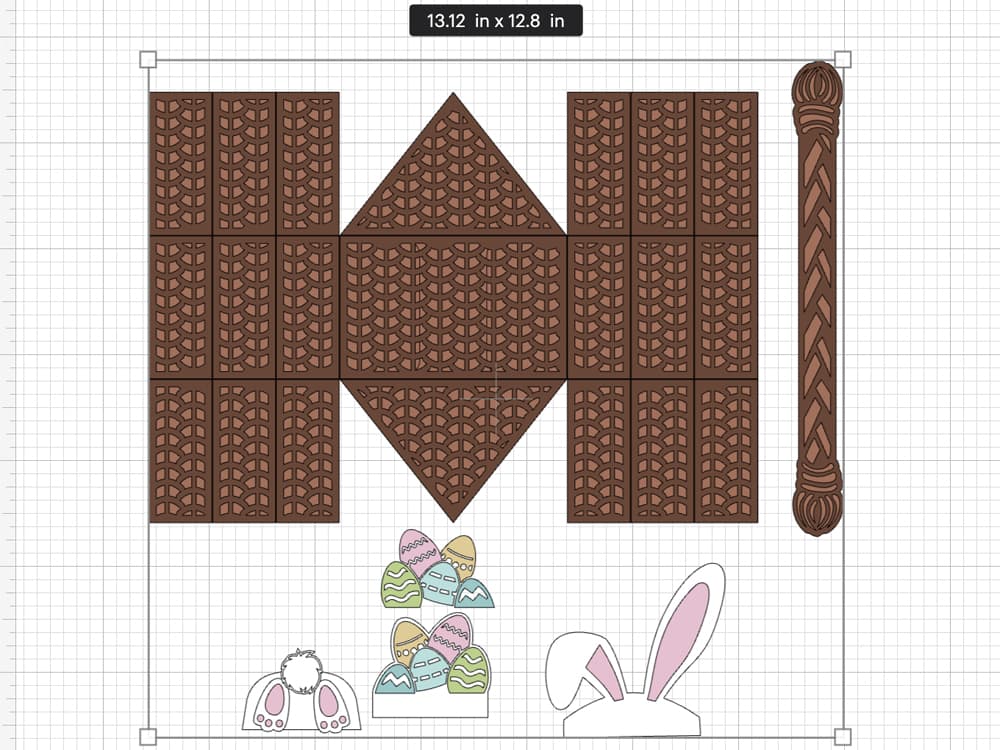
First things first, we gotta cut out all the pieces for our paper basket. You can either fire up your cutting machine or print out the pieces to cut with scissors.
Alrighty, all pieces are cut and we’re ready to roll! First things first, let’s join the basket back and front sides. I like to use paper glue to stick ’em together. Let’s get this party started! Pay attention that you need to place all the pieces as it is shown in a photo and then glue the decor front parts on it.
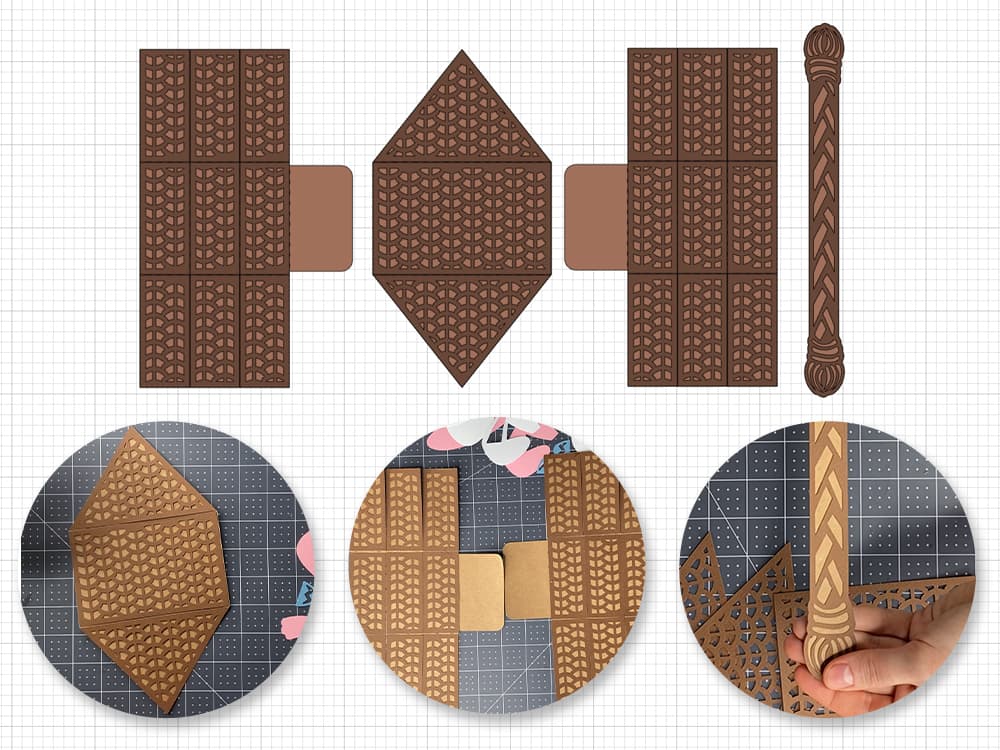
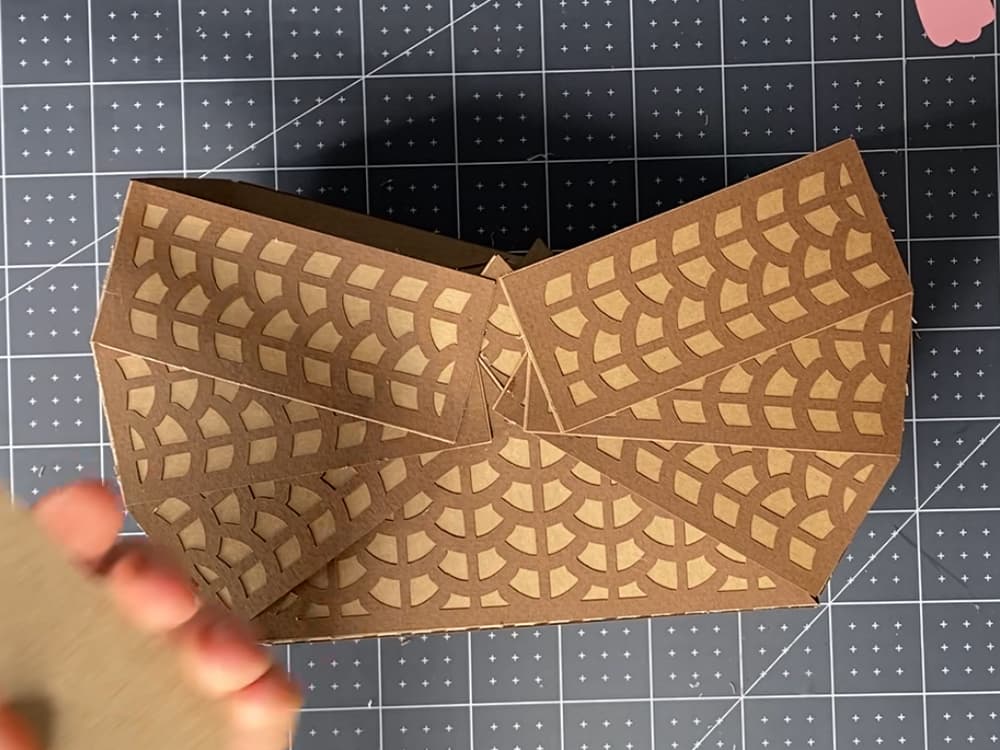
Next up, shape all the pieces along the dotted lines. The decoration should stay on the front side. Glue two side parts to the bottom part of our basket.

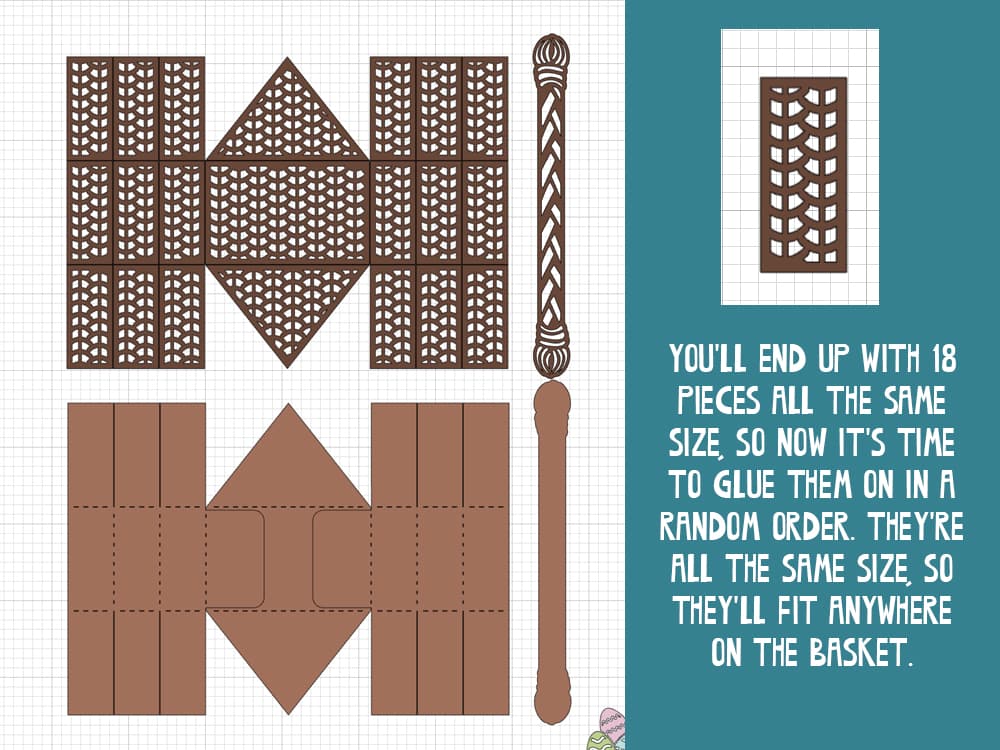
Glue the side stripes as shown in the photo.
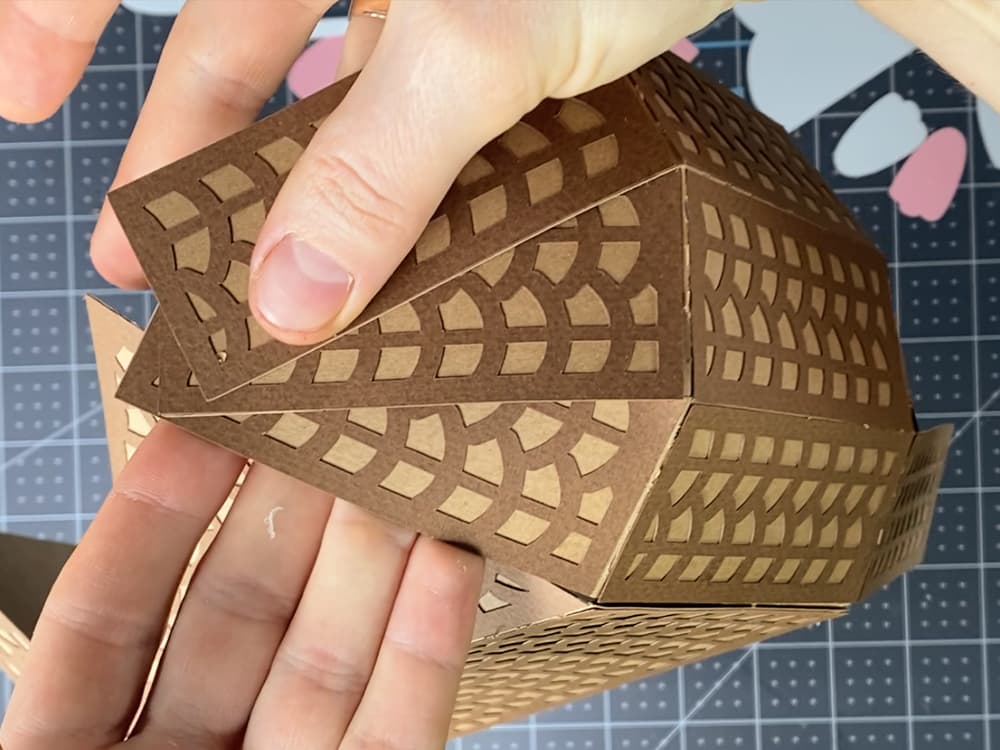
Then glue each pair as shown.
Next glue the basket handle.
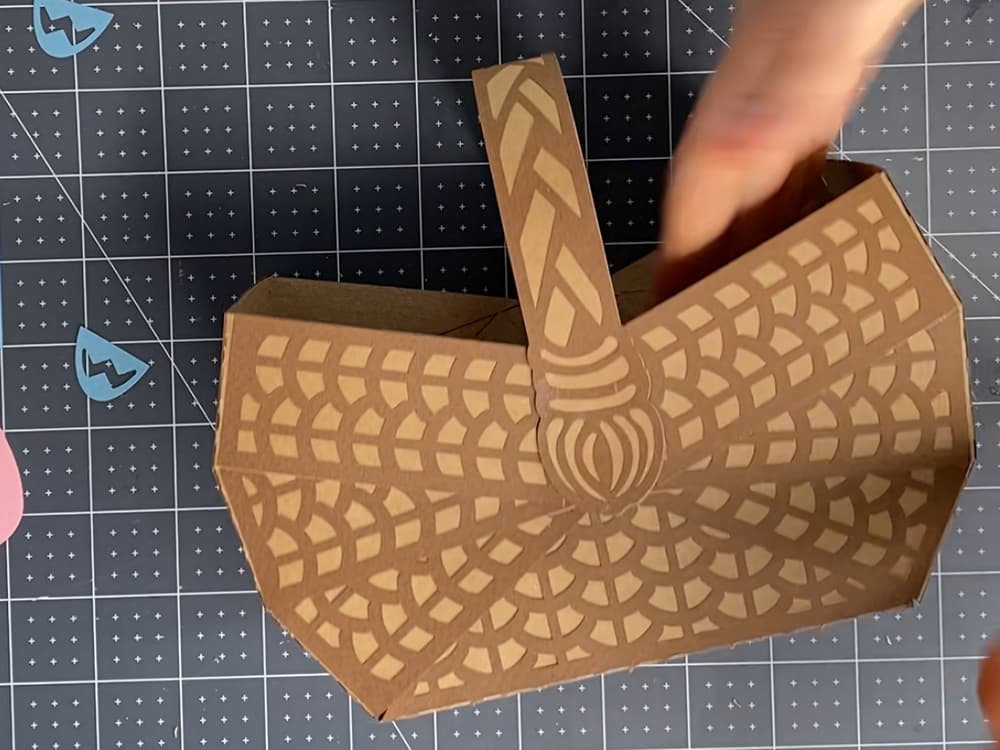
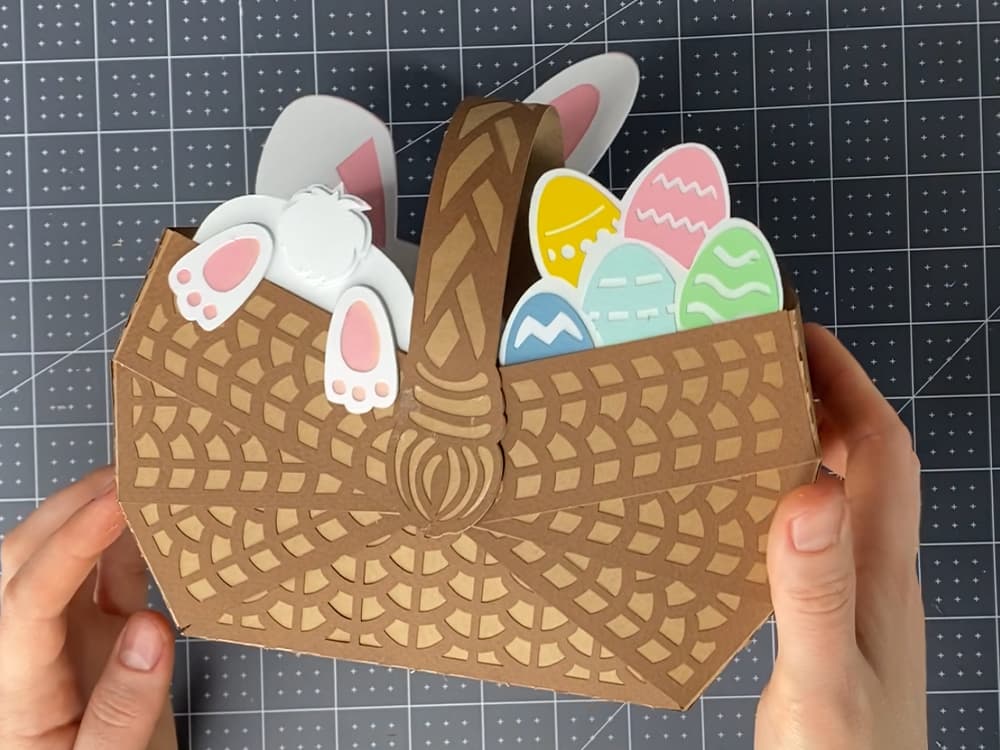
Out basket is done!
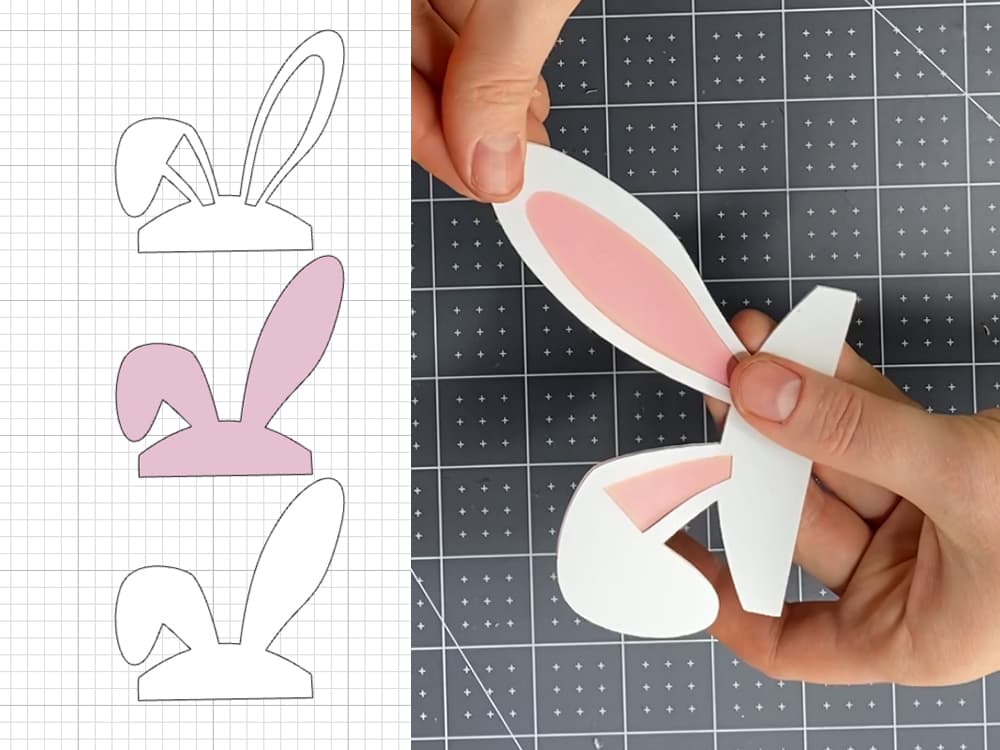
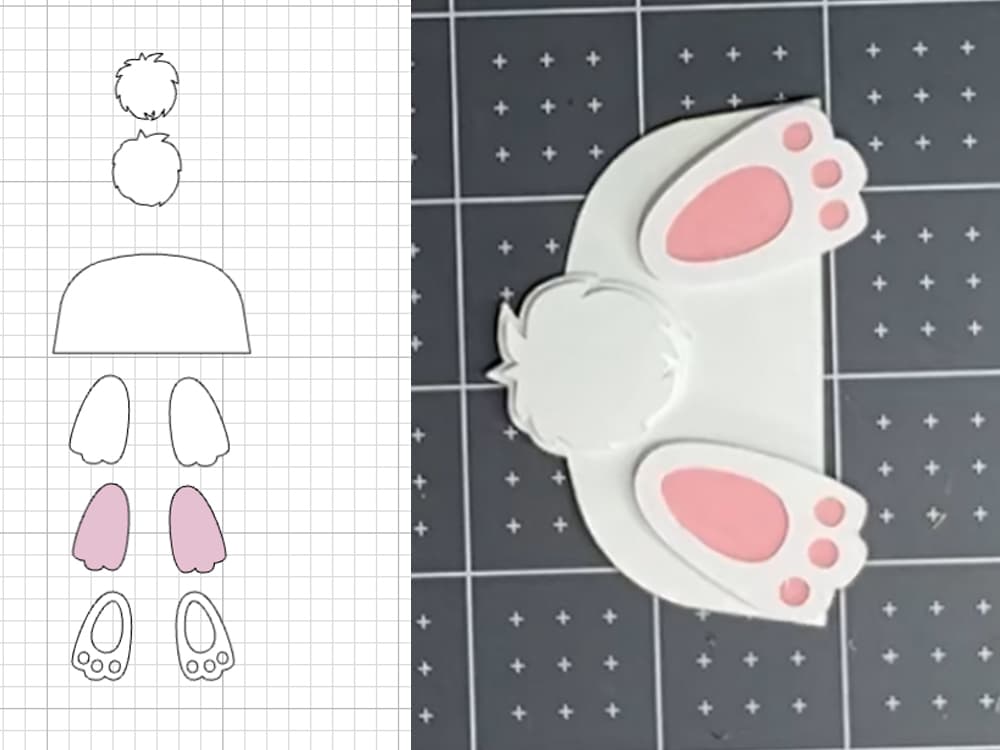
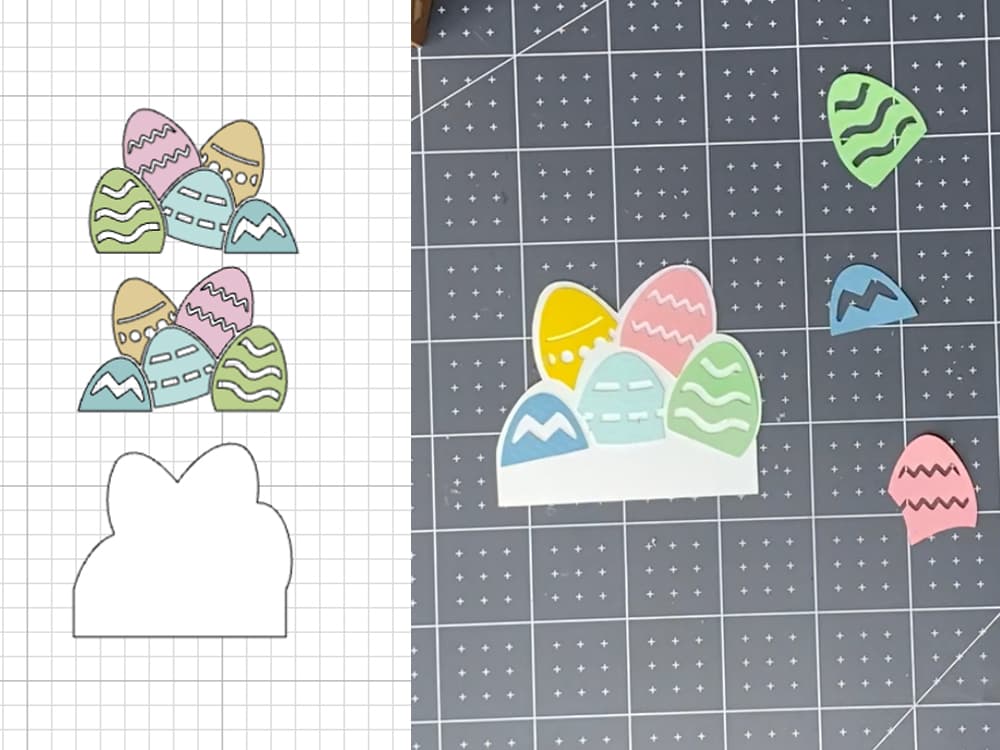
Then we will make easter decor like a bunny ears, bunny tail and easter eggs.
For making the bunny ears, I stick to using just glue, but hey, double-sided tape works too if that’s what you’ve got on hand.
To add some adorable shadows, I slip in some double-sided tape between the layers of the bunny tail and bunny paws. It’s those little details that really make it pop!
Now, let’s glue the eggs to both sides. Let’s give this basket some Easter flair!
Feel free to add all this decor wherever you like, or if you’re not feeling it, you can totally skip this step.
I like to add a bit of shredded tissue paper to the bottom and then fill it up with some sweets. It’s the perfect finishing touch!
Kids will be over the moon to receive as a gift this paper basket full of sweets or make it by your own! It’s sure to bring a big smile to their faces and spark their imagination. And long after the sweets are gone, they’ll treasure their DIY Paper Basket as a cherished memento of the special moments shared during Easter celebrations. It’s a simple yet meaningful gift that brings endless happiness and memories to little hearts.
I believe a video tutorial speaks volumes and can guide you through the process effortlessly, allowing you to witness every step in action. Check out our video tutorial, and let’s dive into some crafting!
Leave a Reply